
The complete guide
Downspout Splash Blocks, A Practical Buyer's Guide
The problem starts at the bottom of the pipe
Gutters get all the attention. People clean them, fit guards on them, replace them when they sag. Then the water comes out of the downspout and lands in a spot nobody looks at.
That spot takes a beating. A medium roof can shed hundreds of litres in a single storm, and all of it funnels into one narrow stream hitting the same patch of ground. You end up with a hollow dug into the soil, mud splashed up the wall to knee height, and water soaking straight down beside the footings instead of running off.
Over a few years that does real damage. Soil washes away from the foundation. Mulch migrates onto the path. Damp works into brick or render. Plants nearest the pipe either drown or get their roots exposed. None of it happens fast enough to be dramatic, which is exactly why it gets ignored until it is expensive.
A splash block interrupts that chain at the cheapest possible point.
How a splash block works
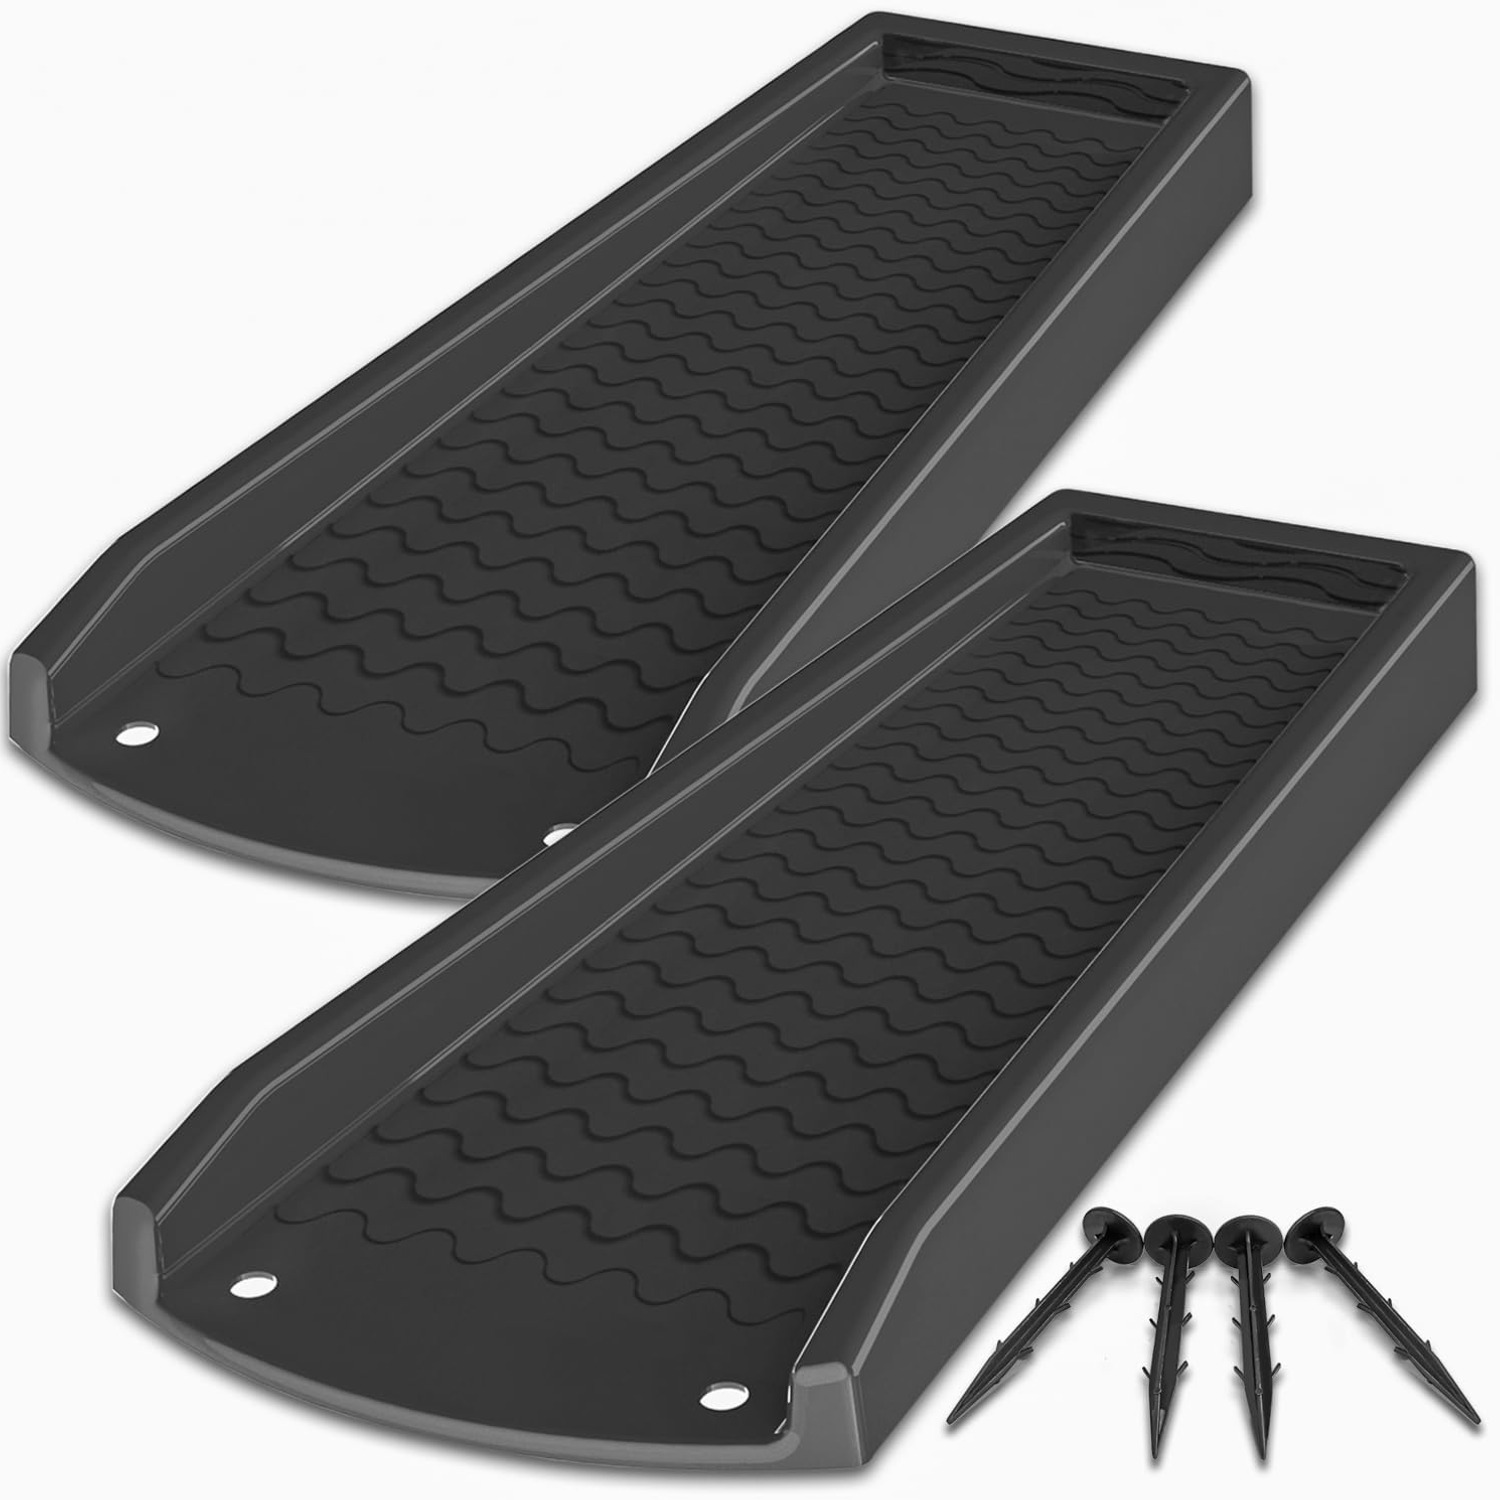
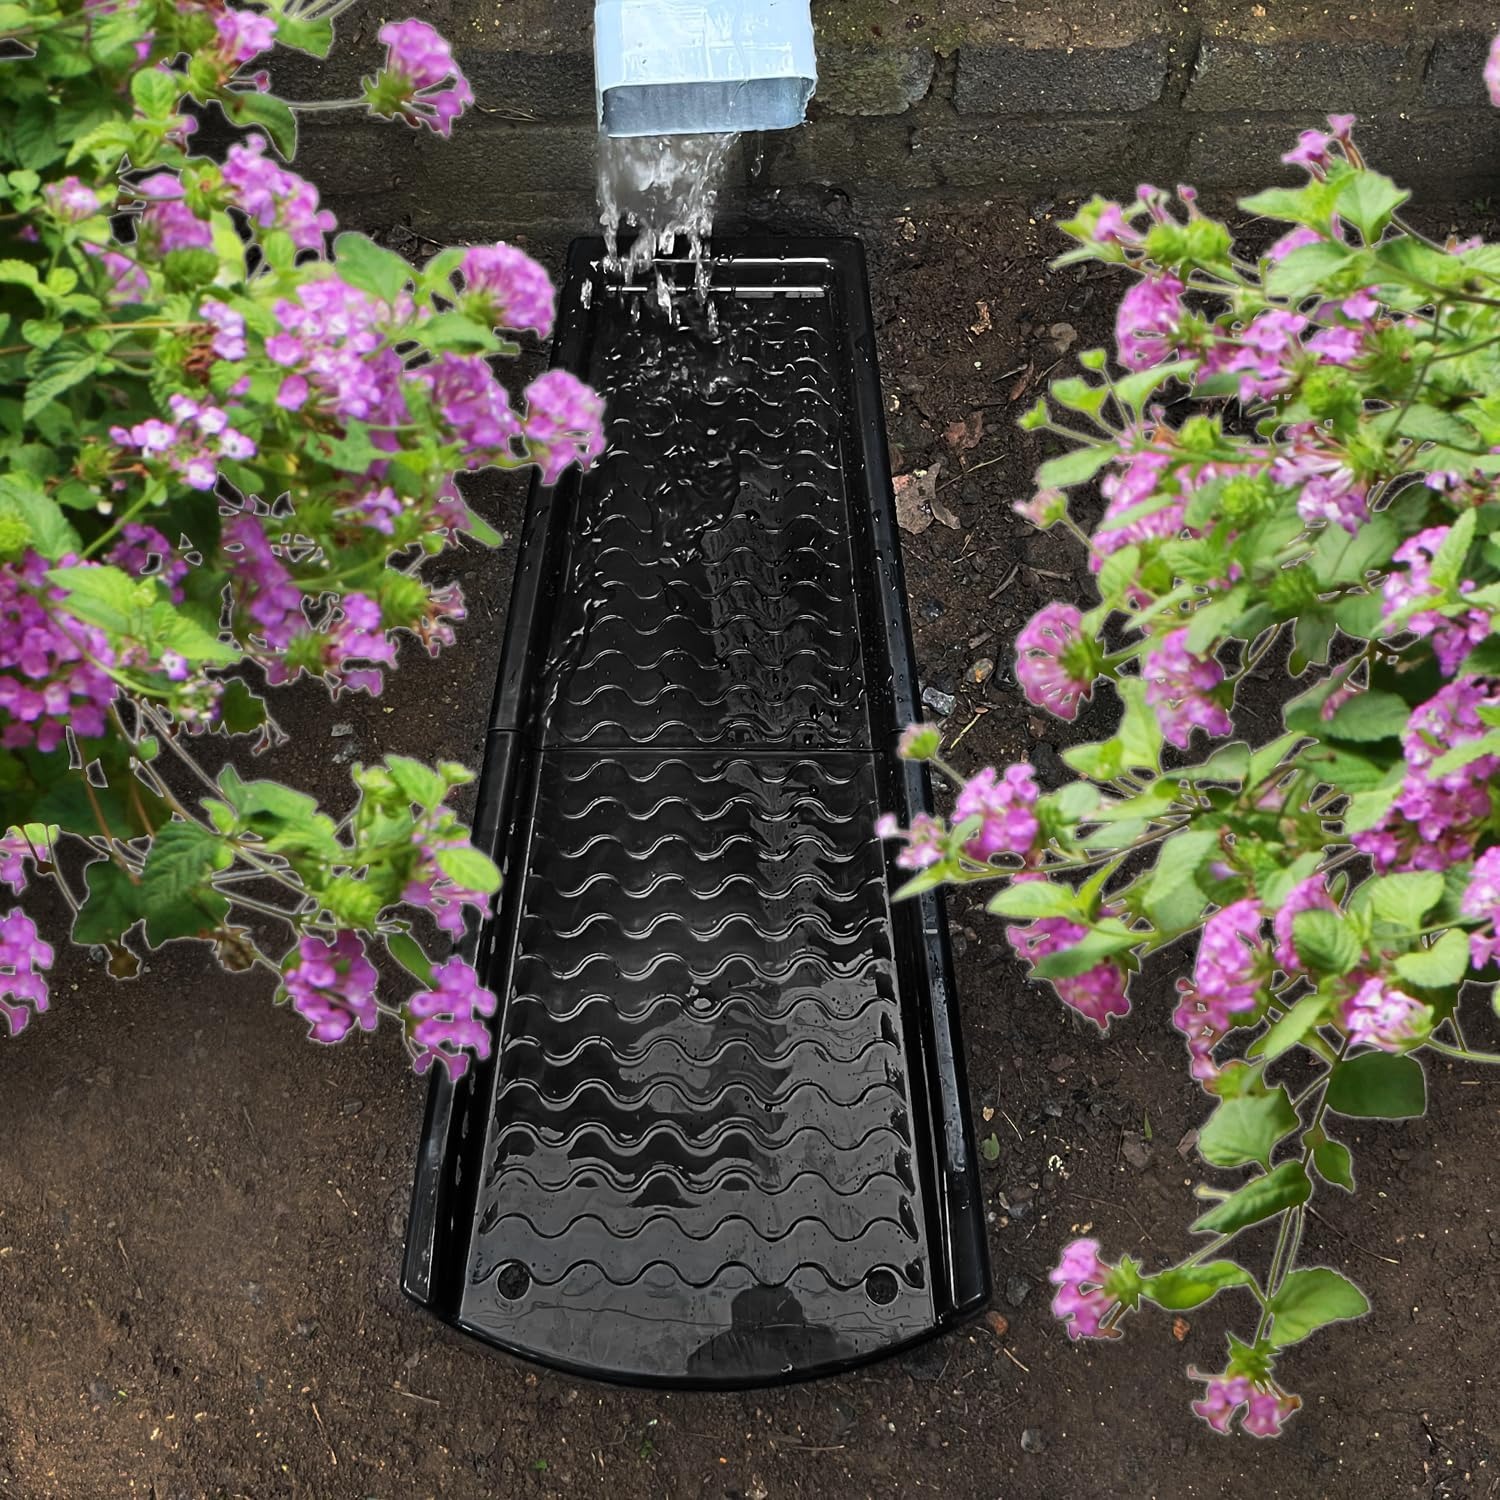
It is a simple object doing a simple job. The block sits on the ground under the downspout outlet. Water drops into the raised end, hits the sloped floor of the channel, and is carried forward and released at the far end, spread out rather than concentrated.
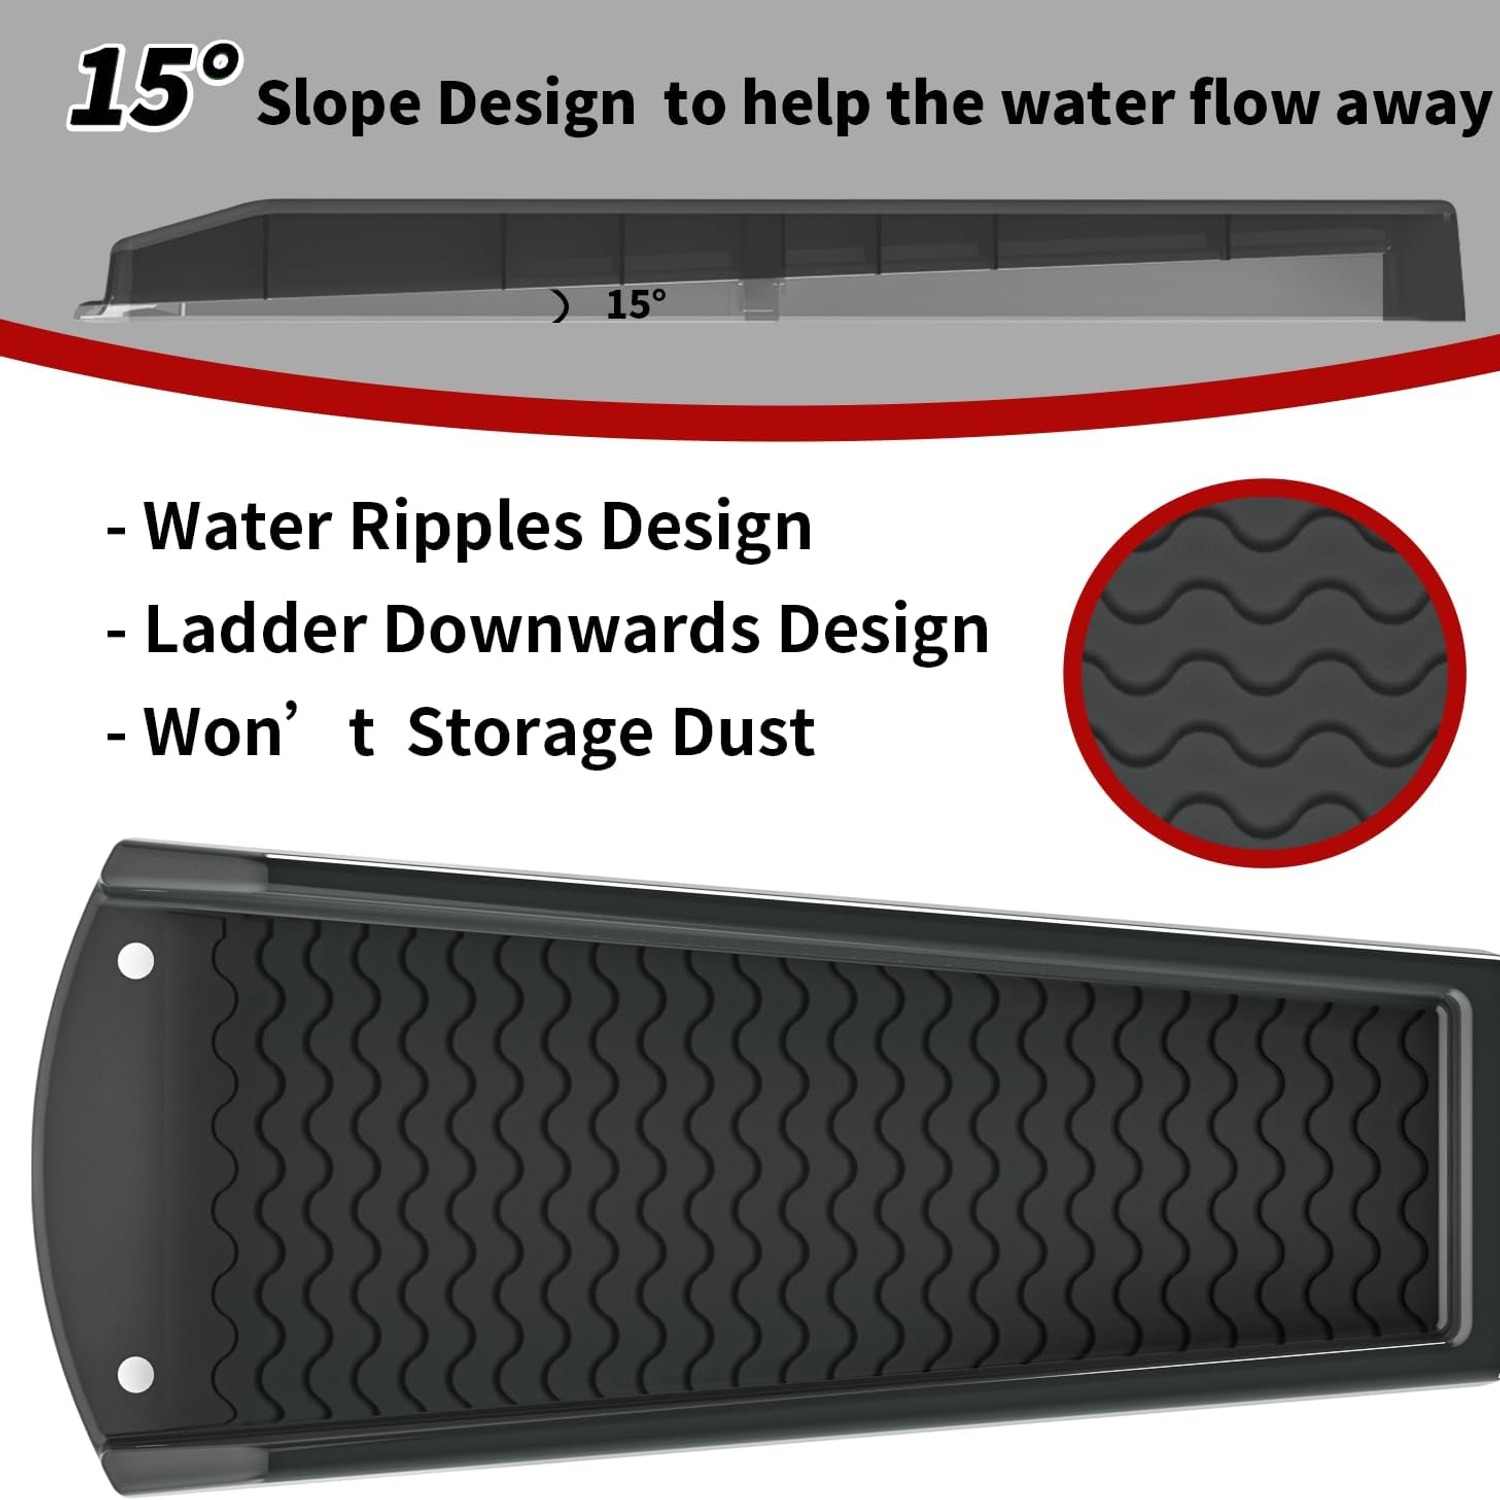
Two things make the difference between a block that works and one that just sits there looking like it should. The first is slope. This one has a 15 degree fall built into the channel, which means it still moves water when the ground underneath is dead level. Plenty of homes have a concrete apron or paving right at the wall with no fall at all, and a flat tray on flat ground just becomes a puddle.
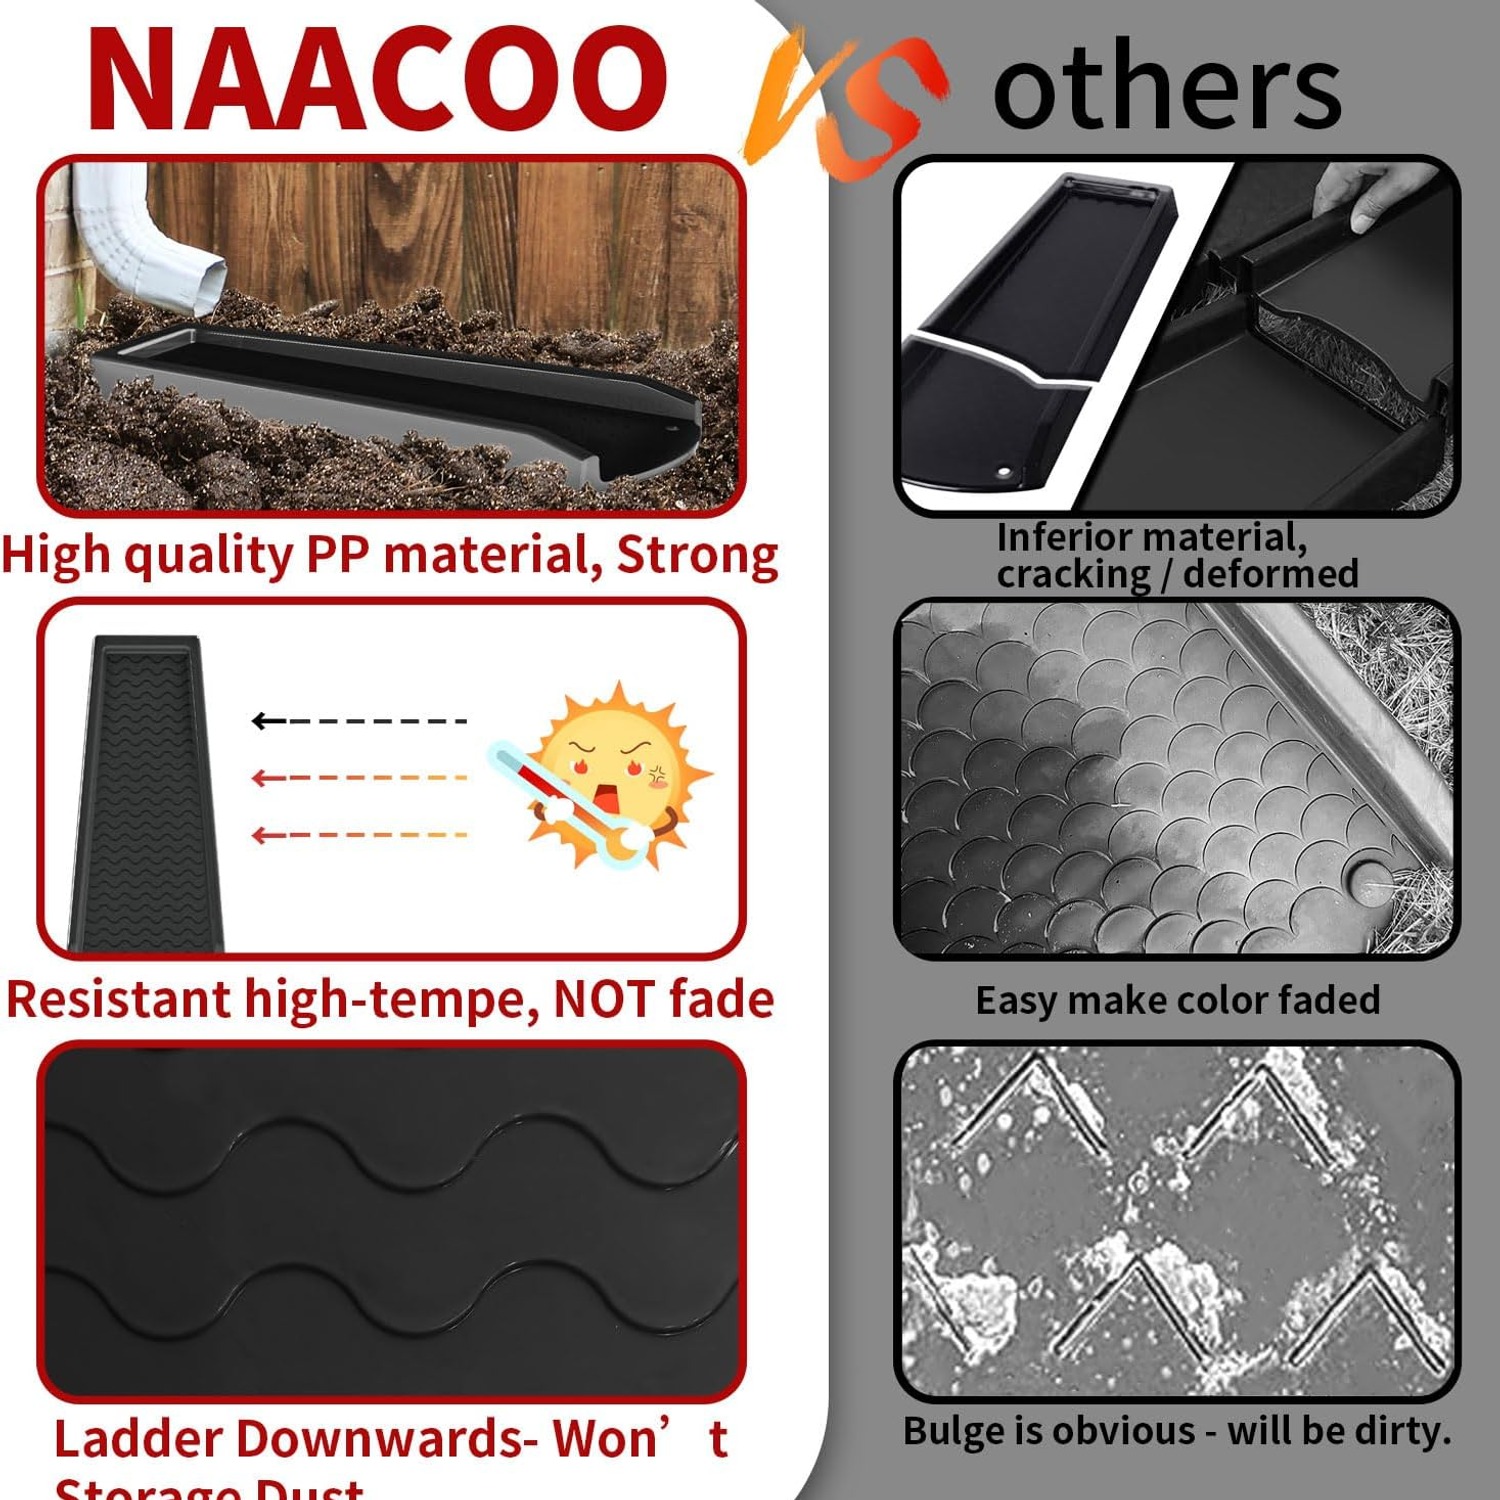
The second is what is underneath. A solid-bottomed block pressed into soil traps moisture and silt, which slowly lifts and tilts it until the water runs sideways or back toward the house. The ladder-style base here keeps that from happening. Dirt and water pass through instead of building up, so the block holds its position and its angle.
The other detail worth knowing is that the discharge end spreads the flow. That is what stops the water from simply digging a new hole two feet further out. A wide, shallow release lets the ground absorb it, or lets it keep running off if you have any natural fall.
Who needs one
If you have a downspout that empties straight onto soil, grass or mulch, you need something. That is the clearest case.
Downspouts that empty onto a path or driveway are a softer case. The water will run off eventually, but it will also splash the wall, stain the paving and freeze into an ice patch in cold weather. A block tidies the discharge and sends it where you want.
Downspouts connected to a buried drain do not need a splash block, since the water never surfaces. Though it is worth lifting the grate once a year to confirm the drain is actually clear, because plenty of buried pipes quietly block and start overflowing at the top without anyone noticing.
Renters are a good fit too. A splash block is not a modification. It sits on the ground, it comes with you when you move, and no landlord is going to object.
Choosing the right length and color
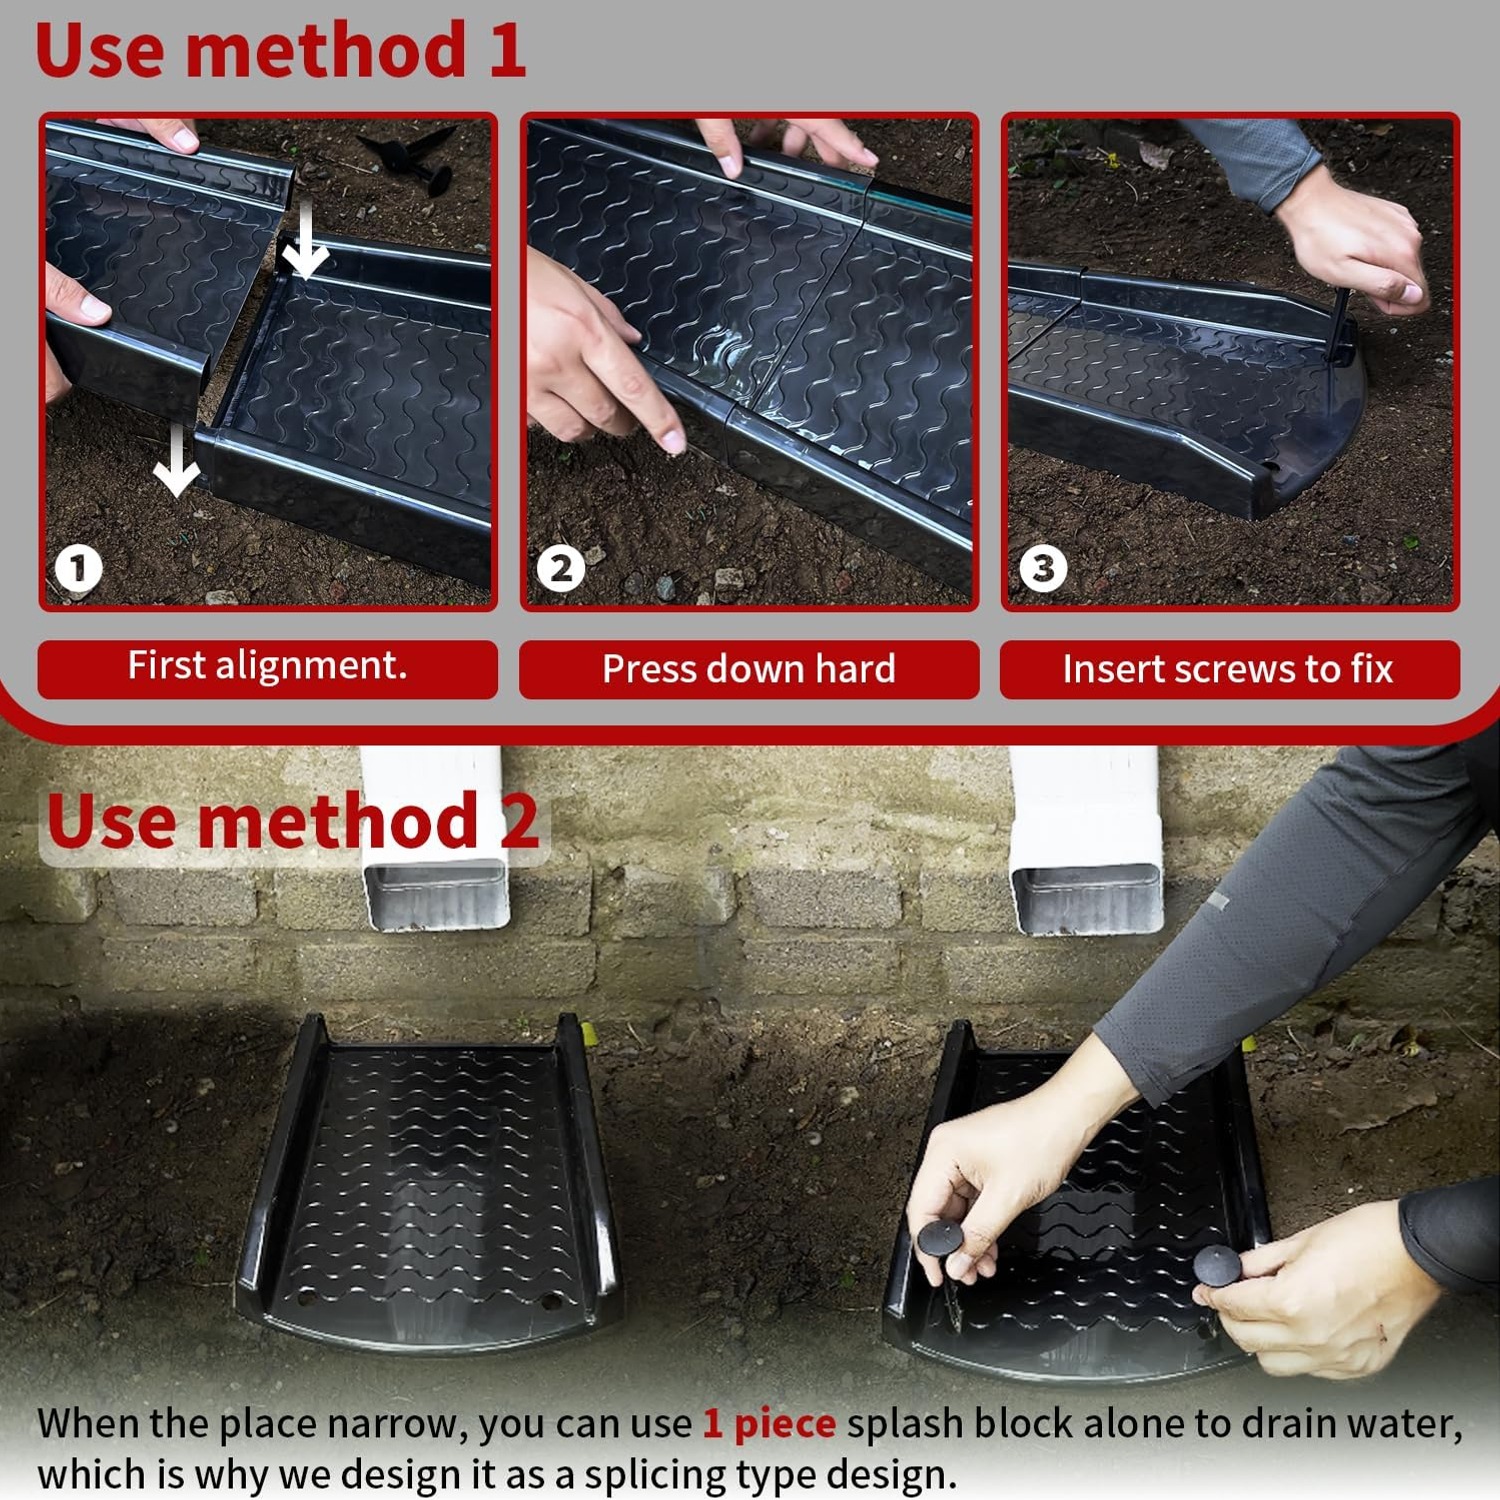
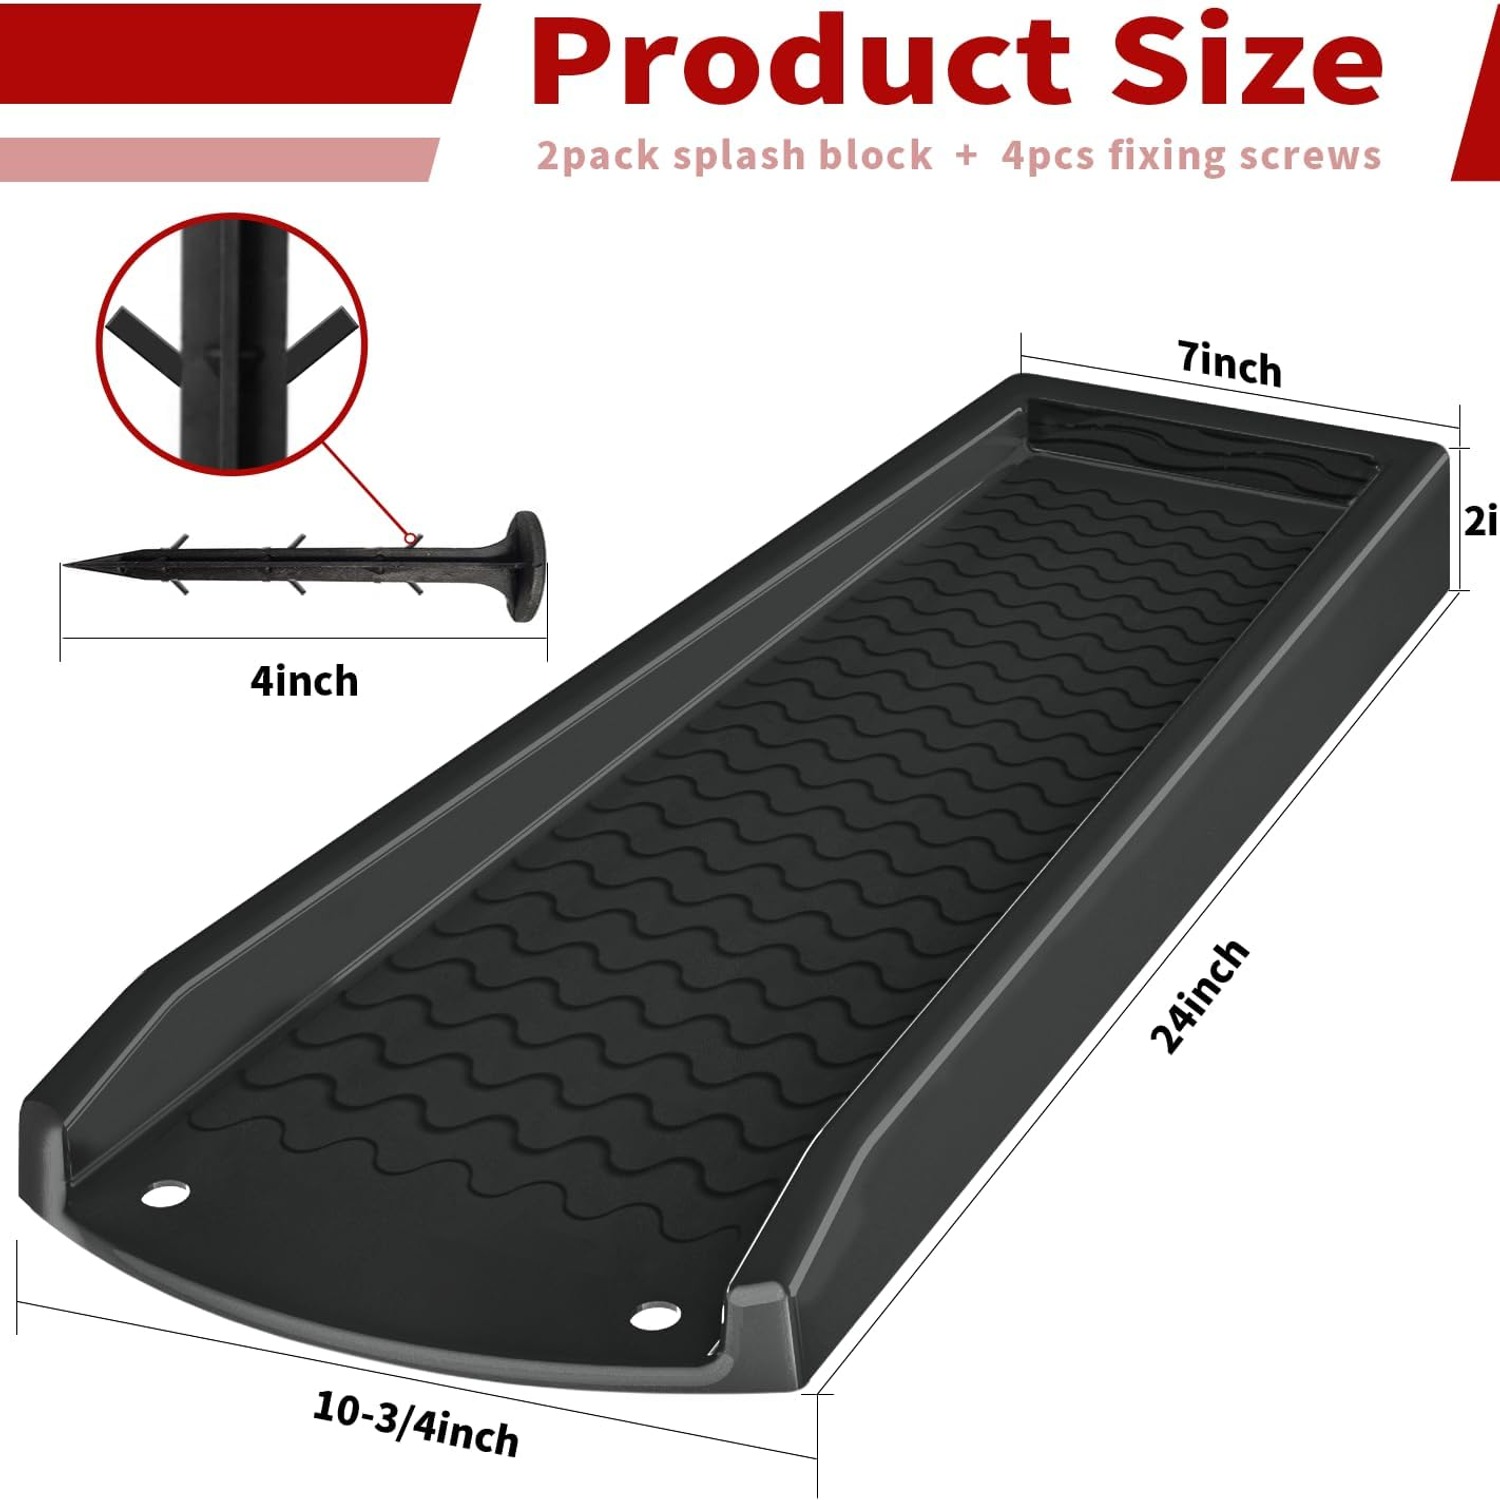
Length is the first decision. A single section suits a narrow side passage, a small courtyard, or anywhere a long block would be in the way of a gate or a bin. The full 24 inch run, both pieces joined, gets water roughly two feet from the wall and is the better default for an open lawn or garden bed.
Working out which you need is mostly about the ground. Stand at the downspout after rain and look at where water naturally wants to go. If the ground falls away from the house, a short block is plenty, because gravity does the rest. If the ground is flat, or worse, falls back toward the wall, use the full length and consider adding a flexible extension for the stretch beyond. The best downspout extension tray only moves water as far as it is long.
Color is less trivial than it sounds. Black disappears against soil, bark mulch and dark paving. Set into bright green grass it reads as a black rectangle and you will notice it every time you look out the window. If the block is going in the middle of a lawn, a grass-toned option blends in far better. This one is black, so plan accordingly.
Material matters too. Thin polyethylene trays go chalky and brittle after a couple of summers, then crack the first time someone steps on them. Polypropylene is the sturdier choice. This block is moulded in PP, rated by the maker as UV resistant against fading, deforming and cracking, and listed with a 500 pound load capacity. That number is about foot traffic and accidental weight, not vehicles.
Getting it installed properly
Installation is short but worth doing carefully, because a badly seated block makes things worse rather than better.
Start by clearing the ground under the downspout. Scrape away loose mulch, level the soil with a trowel, and knock down any hump that would tip the block sideways. Five minutes here saves you re-doing it later.
Slide the block in with the raised end tucked under the pipe outlet. The water needs to land inside the channel, not on the lip or behind it. Check the block visually from a few feet back to confirm it is running square away from the wall and not angled across the face of the building.
Then fix it. Each block has two pre-made holes, and four PP screws come in the pack. Push them through into the soil. This is the step people skip and then wonder why the block has crept out of line by spring. Heavy rain and gusty wind both nudge an unanchored block, and a block pointed in the wrong direction is actively sending water somewhere you do not want it.
On concrete or paving you cannot use the screws. Butt the block tight against the wall so the downspout itself holds the top end in place, and if it still moves, a bead of exterior-grade adhesive along the back edge will settle it.
Keeping it working
Maintenance is light. Twice a year, hose out the channel. Leaves, roof grit, moss and the bits of shingle that wash down with the rain all collect in there, and a clogged channel backs up and spills over the sides.
Once a year, lift the block and clear whatever soil has washed in underneath. Set it back down level. This is also a decent moment to check the downspout outlet itself for blockages, since the two problems tend to arrive together.
In cold climates, clear the channel before the first freeze. Ice in a clean channel is harmless. Ice in a channel packed with wet leaves can split plastic as it expands.
If you notice the discharge end has started digging a hole in the lawn, the fix is usually to add a splash pad, a few flat stones or some gravel at the outflow. That breaks the energy of the water and lets it soak in rather than scour.
The short version
A downspout splash block is one of the least glamorous things you can buy for a house, and one of the better value ones. It costs a fraction of repairing eroded soil or dealing with damp at the base of a wall, and it takes two minutes to fit.
Look for a real slope so it works on flat ground, a base that will not trap water underneath, tough plastic that handles sun and cold, and fixings so it stays where you put it. This two pack covers all four, gives you a 24 inch run or two short ones, and includes the screws.
Count your downspouts, check which way your ground falls, and put something under the ones emptying onto bare soil. It is the simplest drainage job on the list.