

The complete guide
Aluminum Gutter Guards, A Practical Buyer's Guide
The job nobody wants to do twice a year
Gutters only have one task. They catch water off the roof and move it away from the house. When they fill with leaves, grit and seed pods, they stop doing that task and start doing something worse. Water spills over the edge, runs down the wall, pools at the base of the foundation, and finds its way into places it was never meant to go.
The traditional fix is a ladder and a bucket. It works, but it costs you a Saturday, it is messy, and it puts you several meters off the ground holding a scoop of wet sludge. Falls from ladders are one of the more common home injuries, and most of them happen during routine maintenance like this.
A gutter cover changes the arrangement. Instead of removing debris from the gutter, you stop it getting in. Leaves land on top, dry out, and blow away or get swept off with a pole. Rain carries on into the gutter and down the pipe. You still check the gutters, but you check them, you do not empty them.
How a solid aluminum cover works
There are several styles of gutter protection on the market. Foam inserts, brush inserts, plastic mesh, fine stainless mesh, and solid metal covers. Each has trade-offs.
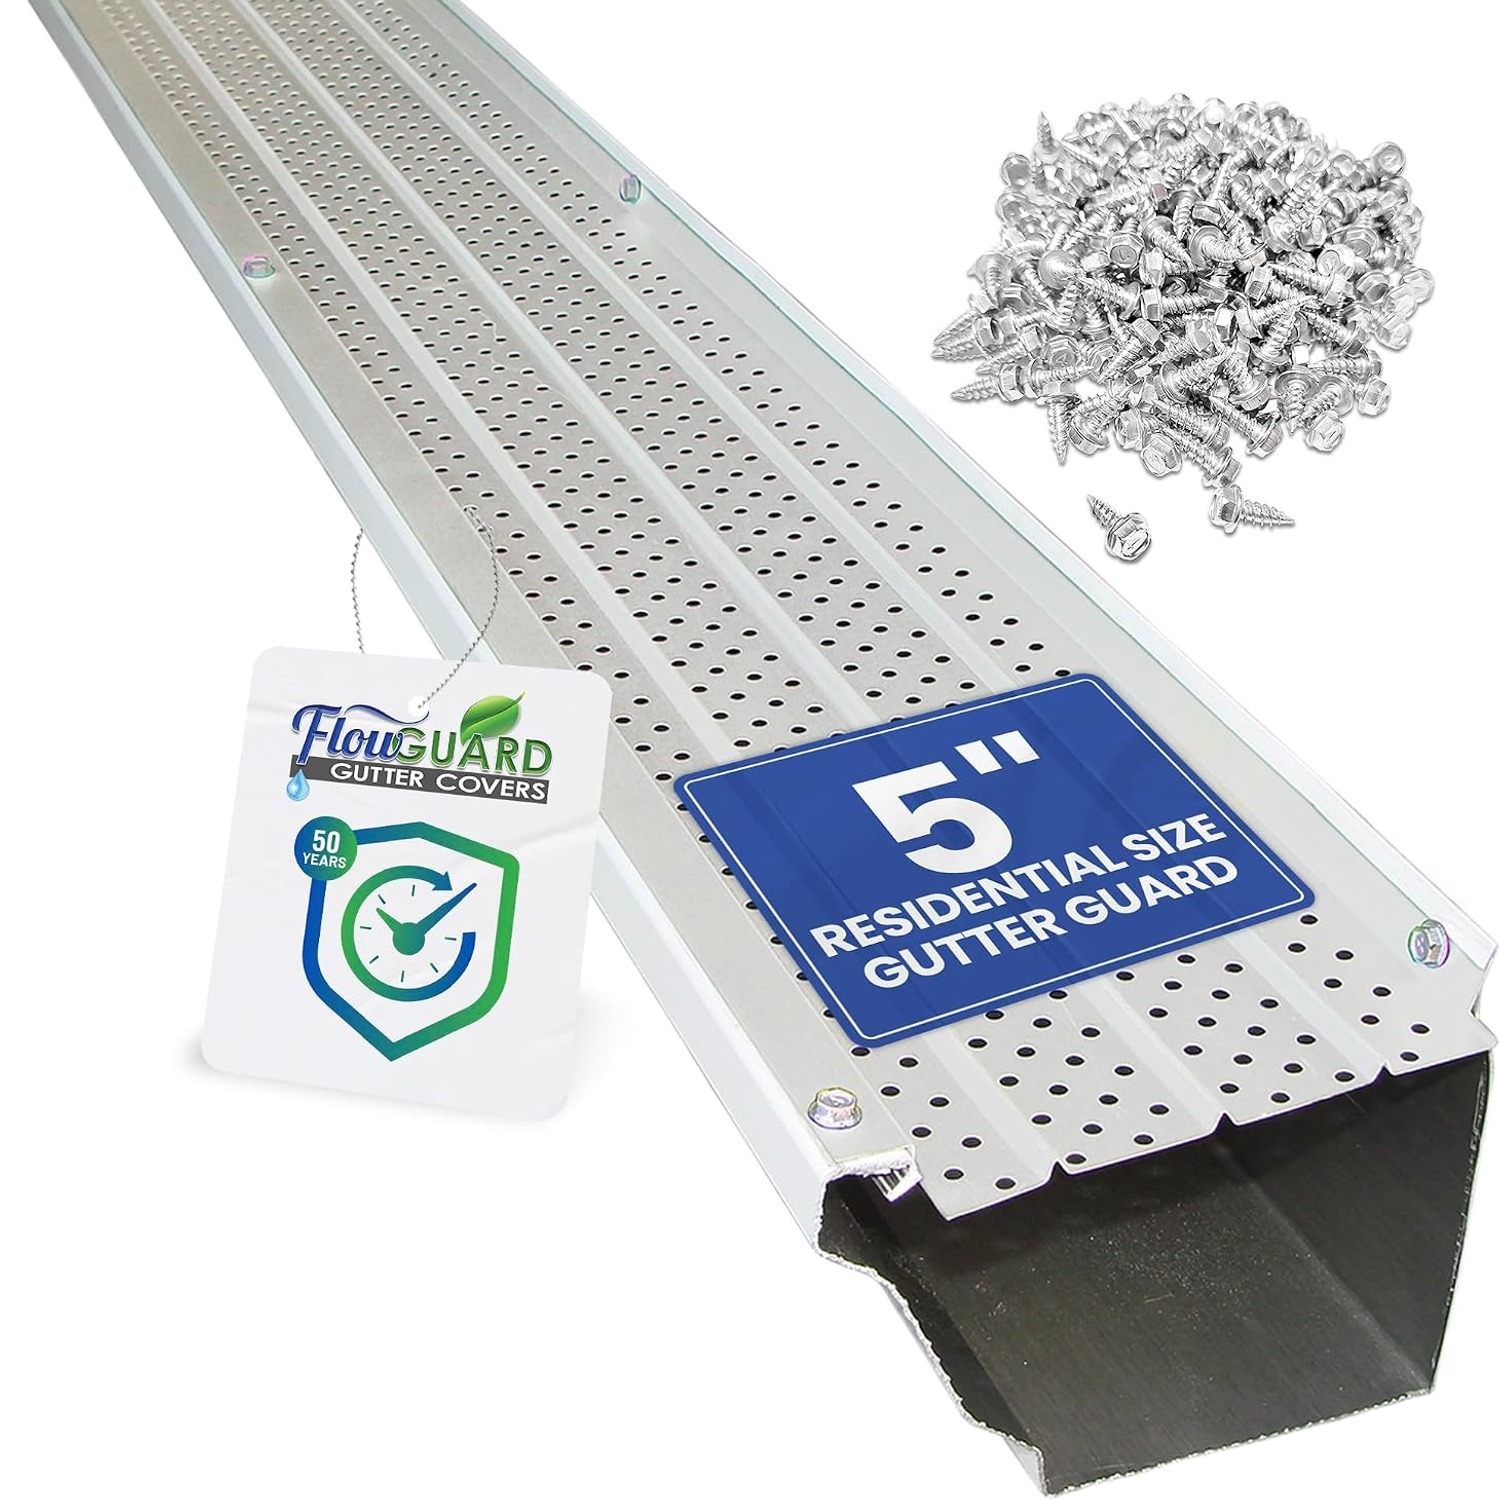
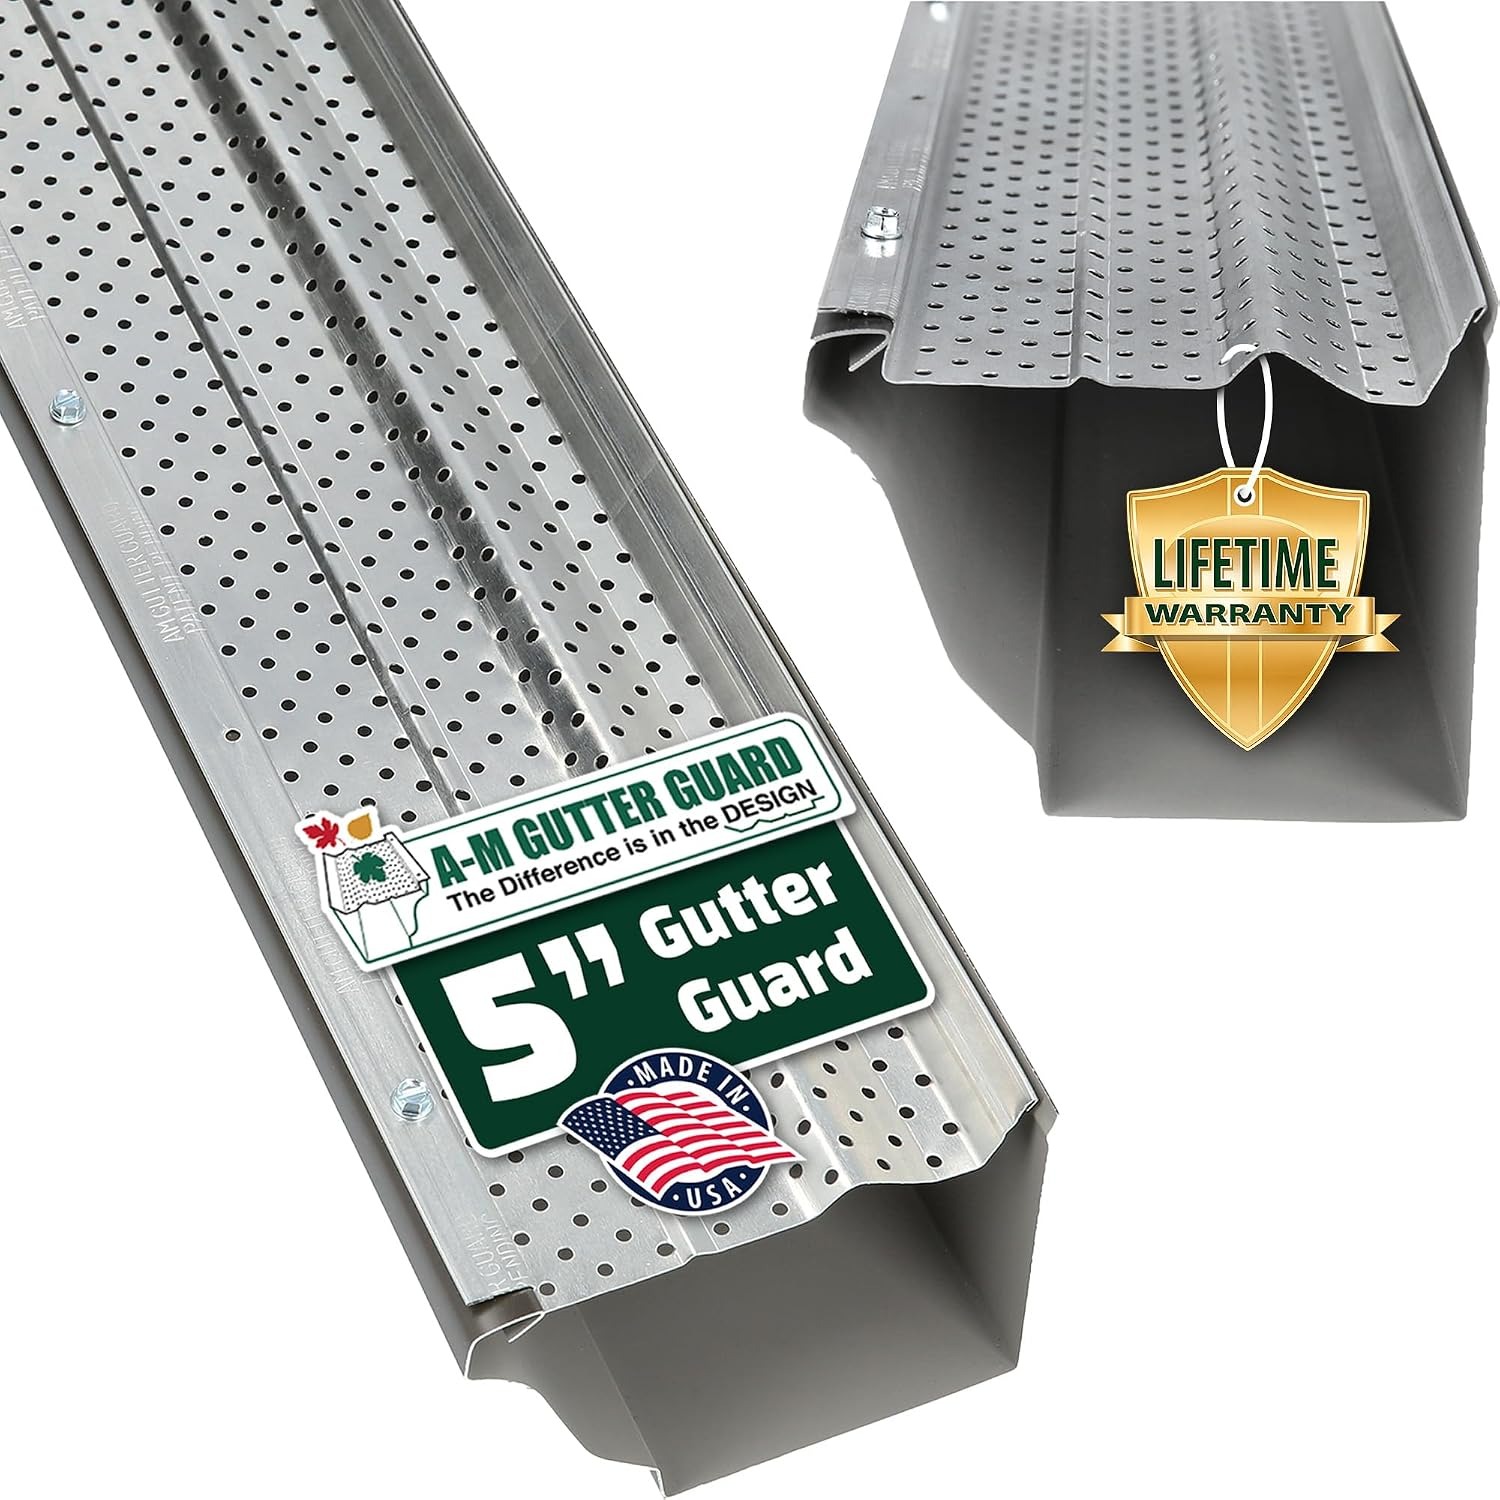
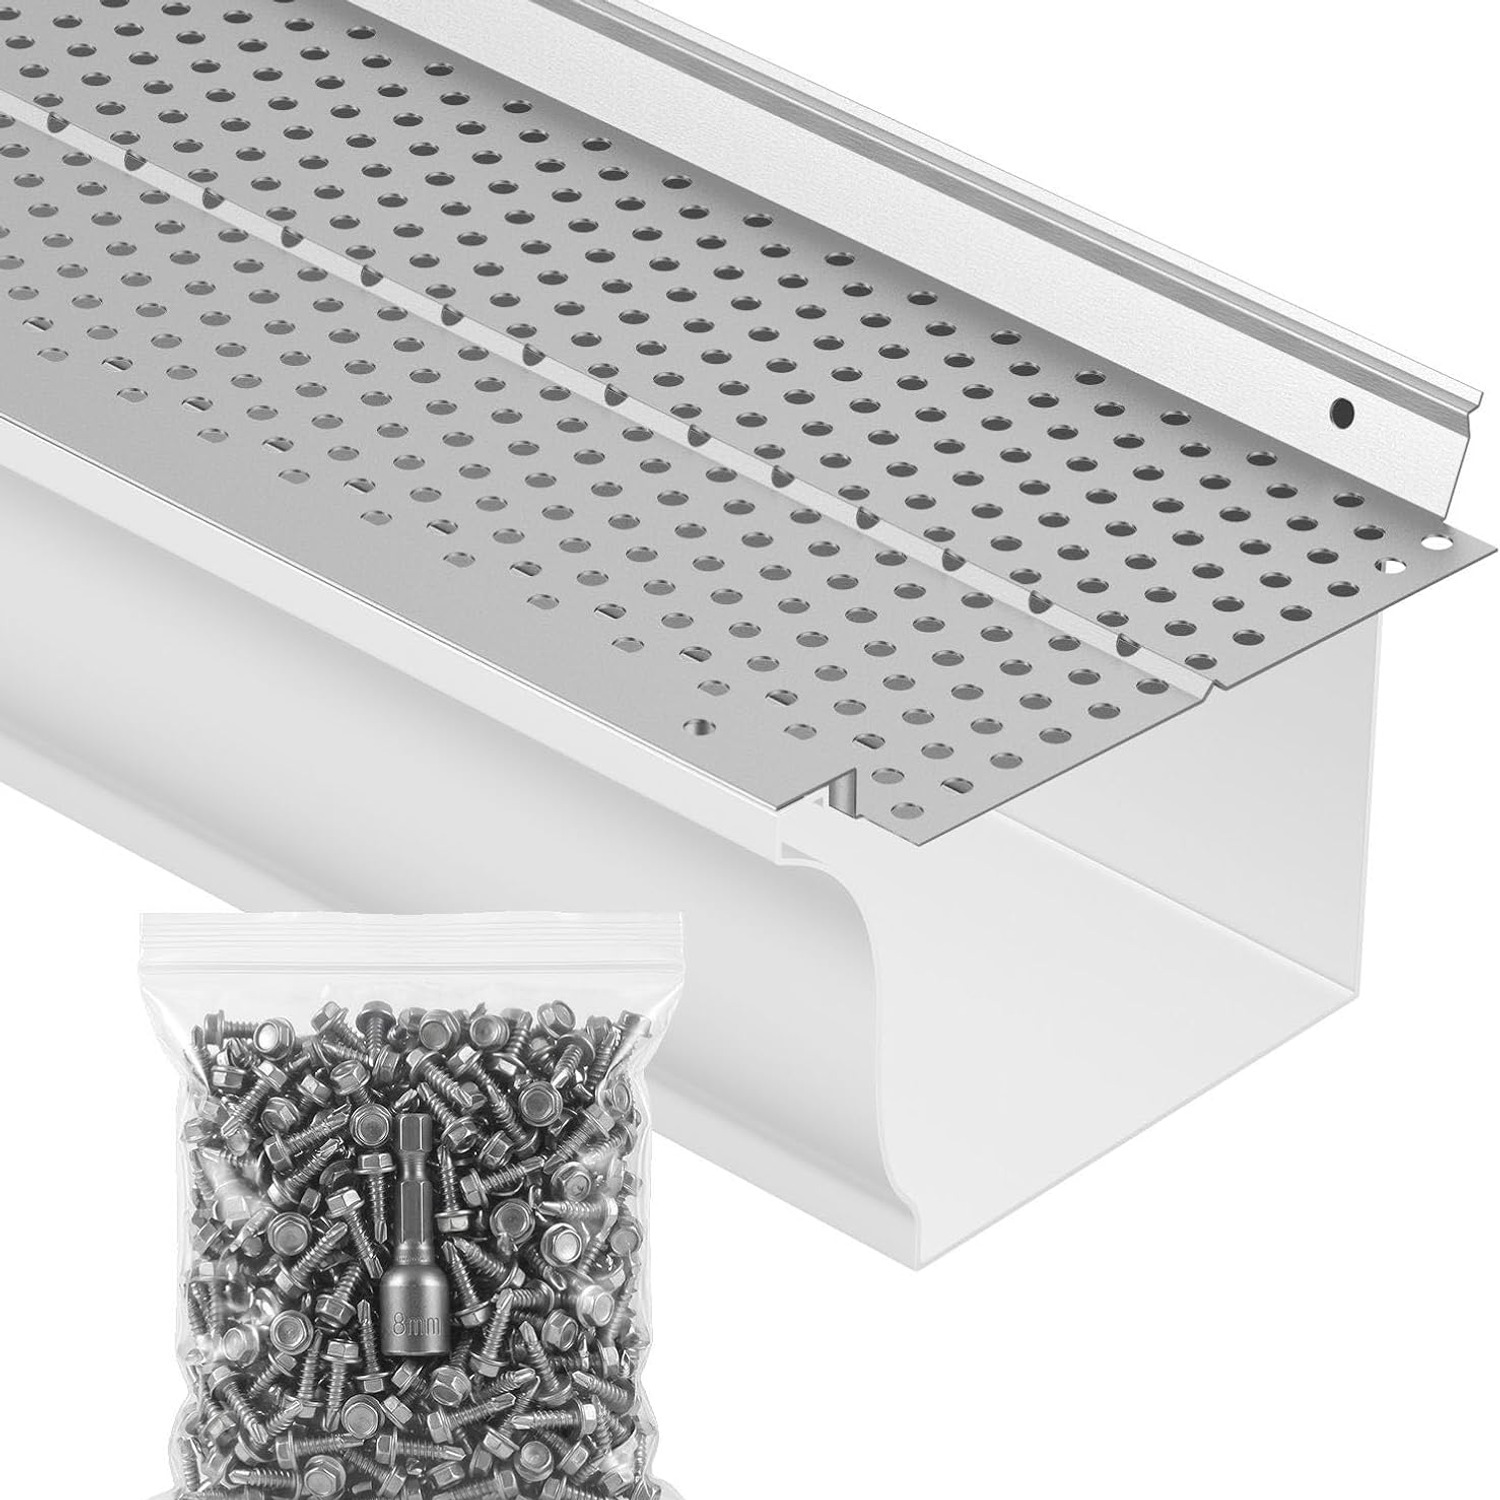
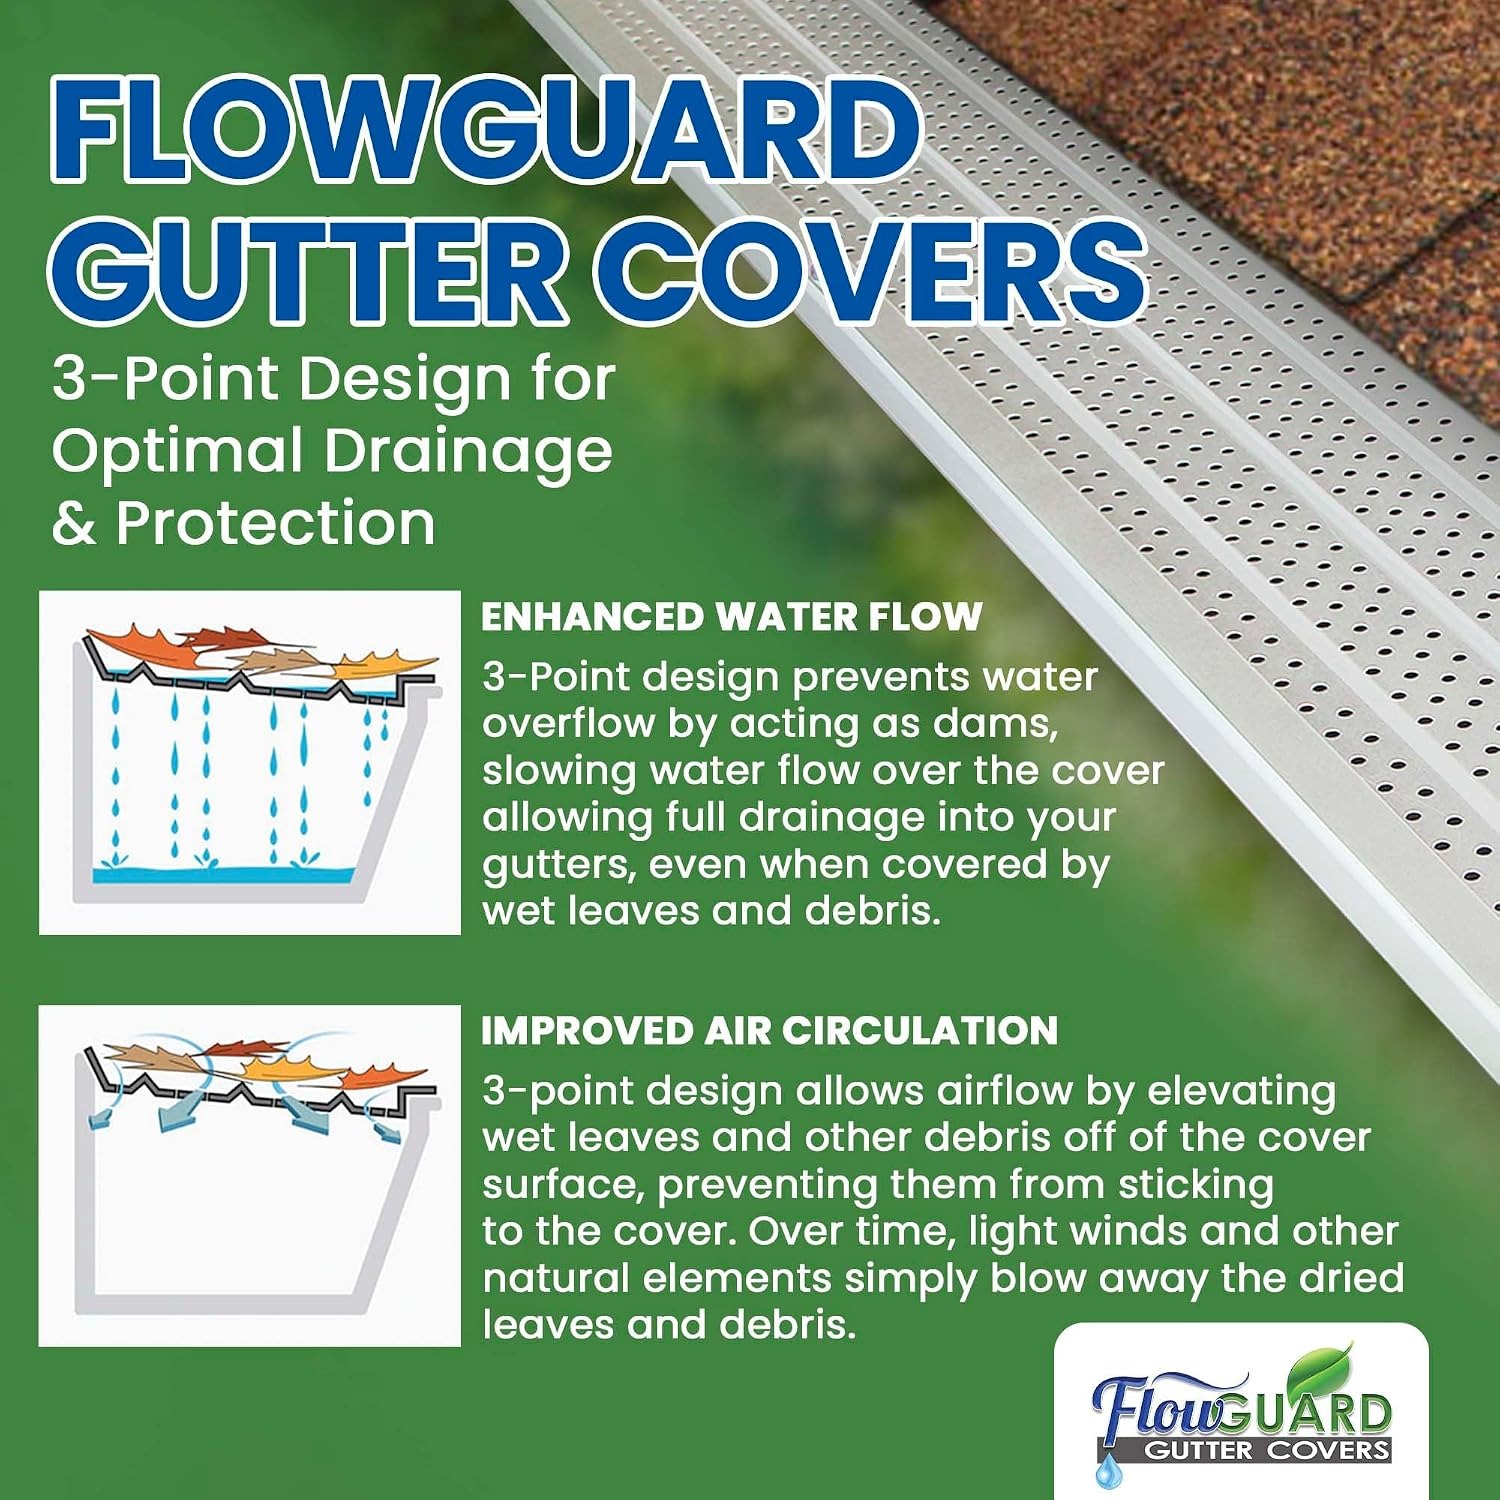
A solid aluminum cover like this one sits over the top of the gutter channel. The surface takes the debris load, and water finds its way into the gutter through the cover's drainage design. Because the surface is solid metal rather than open mesh, there are no small holes for grit and pine needles to wedge into permanently. That is the usual failure point with cheap mesh. It works brilliantly for one season, then the holes silt up and the whole thing becomes a roof over a dry gutter.
Aluminum is the material of choice here for simple reasons. It does not rust the way bare steel does. It holds a shape through temperature swings instead of going brittle like old plastic. And it is light, which matters when you are carrying armfuls of it up a ladder. This kit is listed at 10 pounds for 102 feet of cover across 27 pieces, so no individual section is a burden.
The color supplied is white. On a house with white fascia and white gutters, the cover virtually disappears from street level because it sits inside the gutter line rather than standing proud of it.
Who this suits
This kit suits a few clear situations.
The first is the homeowner with mature trees. If you have oaks, maples, gums, plane trees or anything else that drops heavily in autumn, you already know how fast a gutter fills. A cover is the difference between two full clean outs a year and one casual inspection.
The second is anyone who should not be on a ladder. That might be an older owner, someone with a knee or balance issue, or a two-story home where the gutter line is genuinely high. Reducing ladder trips has real safety value.
The third is the practical DIYer who would rather spend a weekend once than a morning every season. The installation here is straightforward, and the ongoing payback is years of not doing the job.
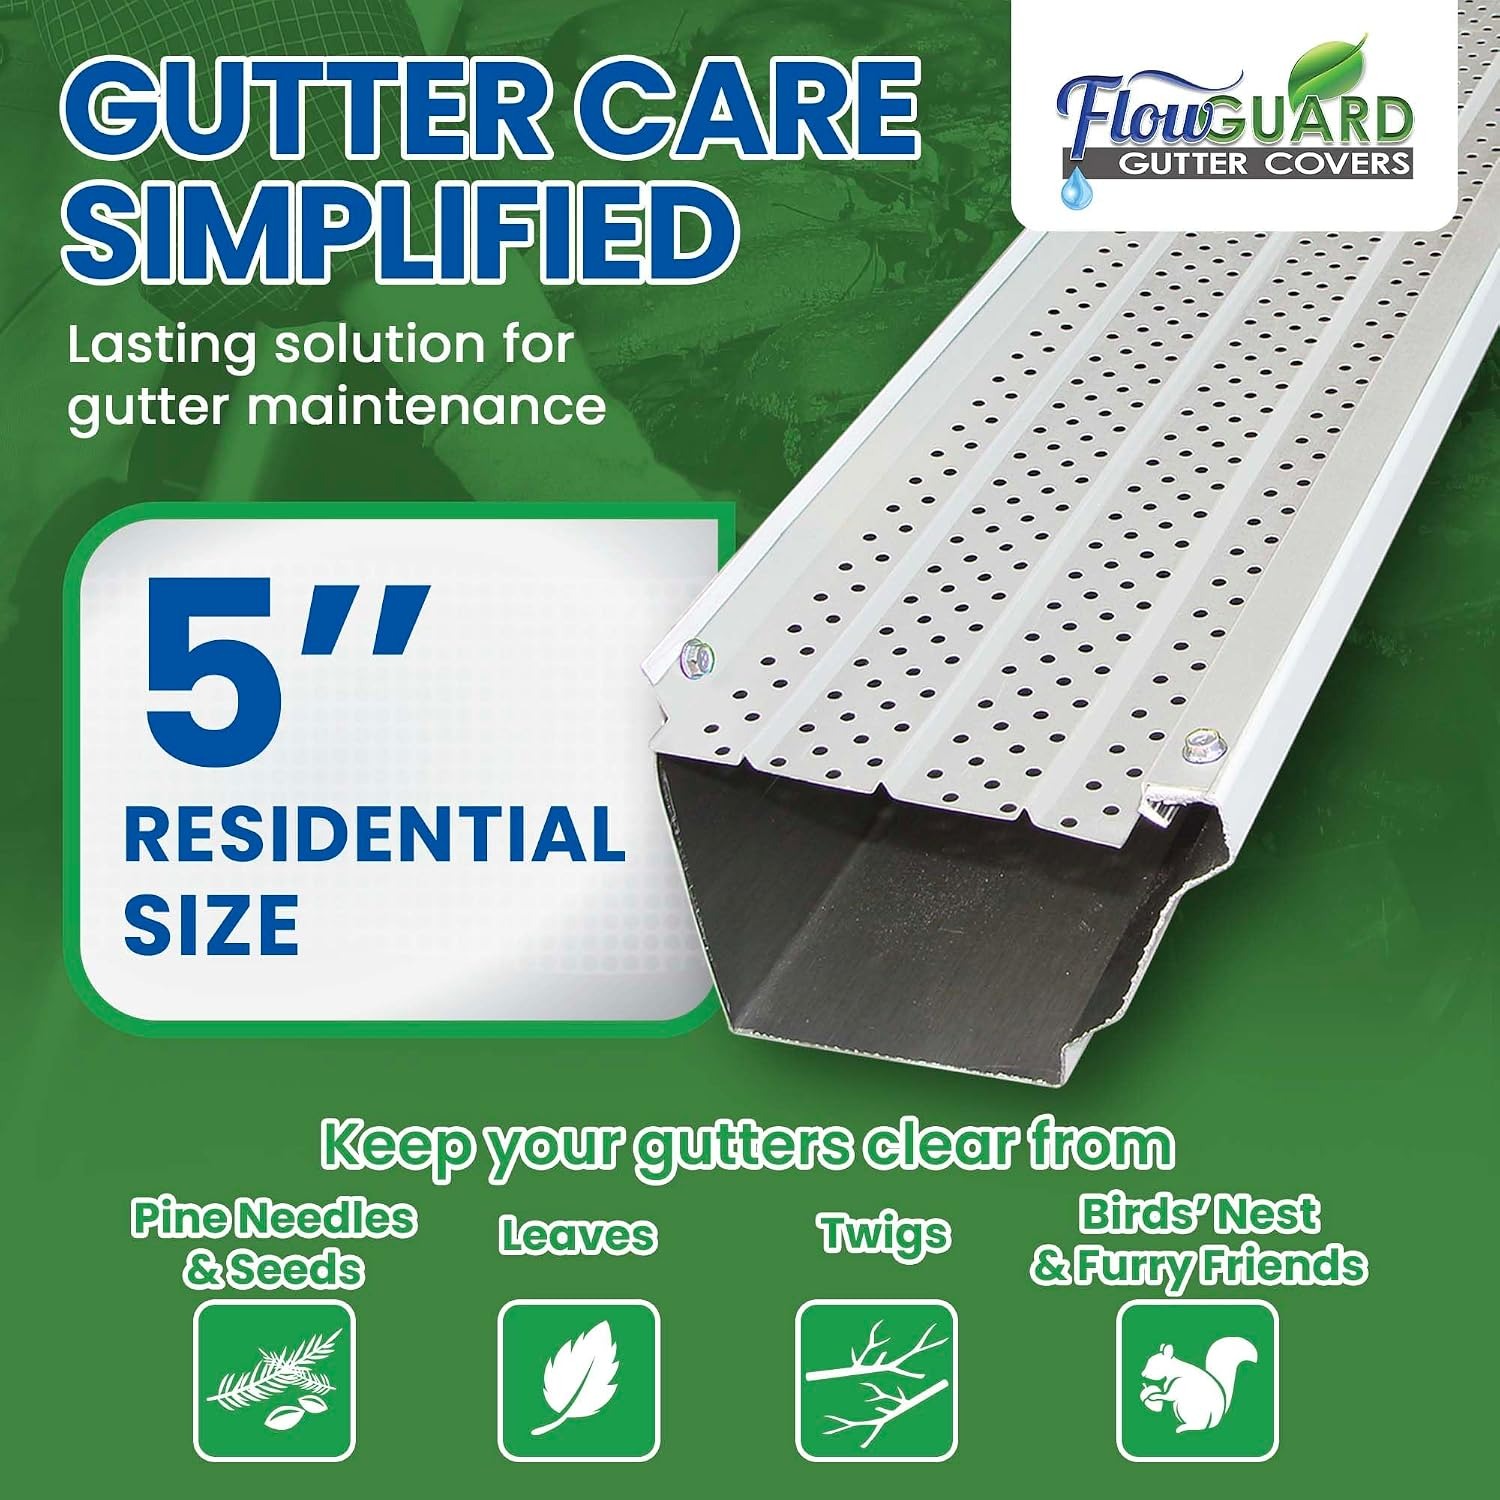
Who it does not suit: anyone with 6 inch gutters, box gutters, or an unusual profile. This is a 5 inch product. Measuring first is not optional.
Measuring and working out how much you need
Grab a tape measure and a notepad and walk the house. Measure each continuous gutter run separately, front, back and both sides. Write them down as you go rather than trying to hold six numbers in your head.
Add the runs together, then add roughly ten percent. That covers offcuts, miscuts and the corners where a piece gets trimmed at an angle. If your total comes to 95 feet, one 102 foot kit is comfortable. If it comes to 140 feet, you want two kits, and ordering both at once keeps the finish consistent across the house.
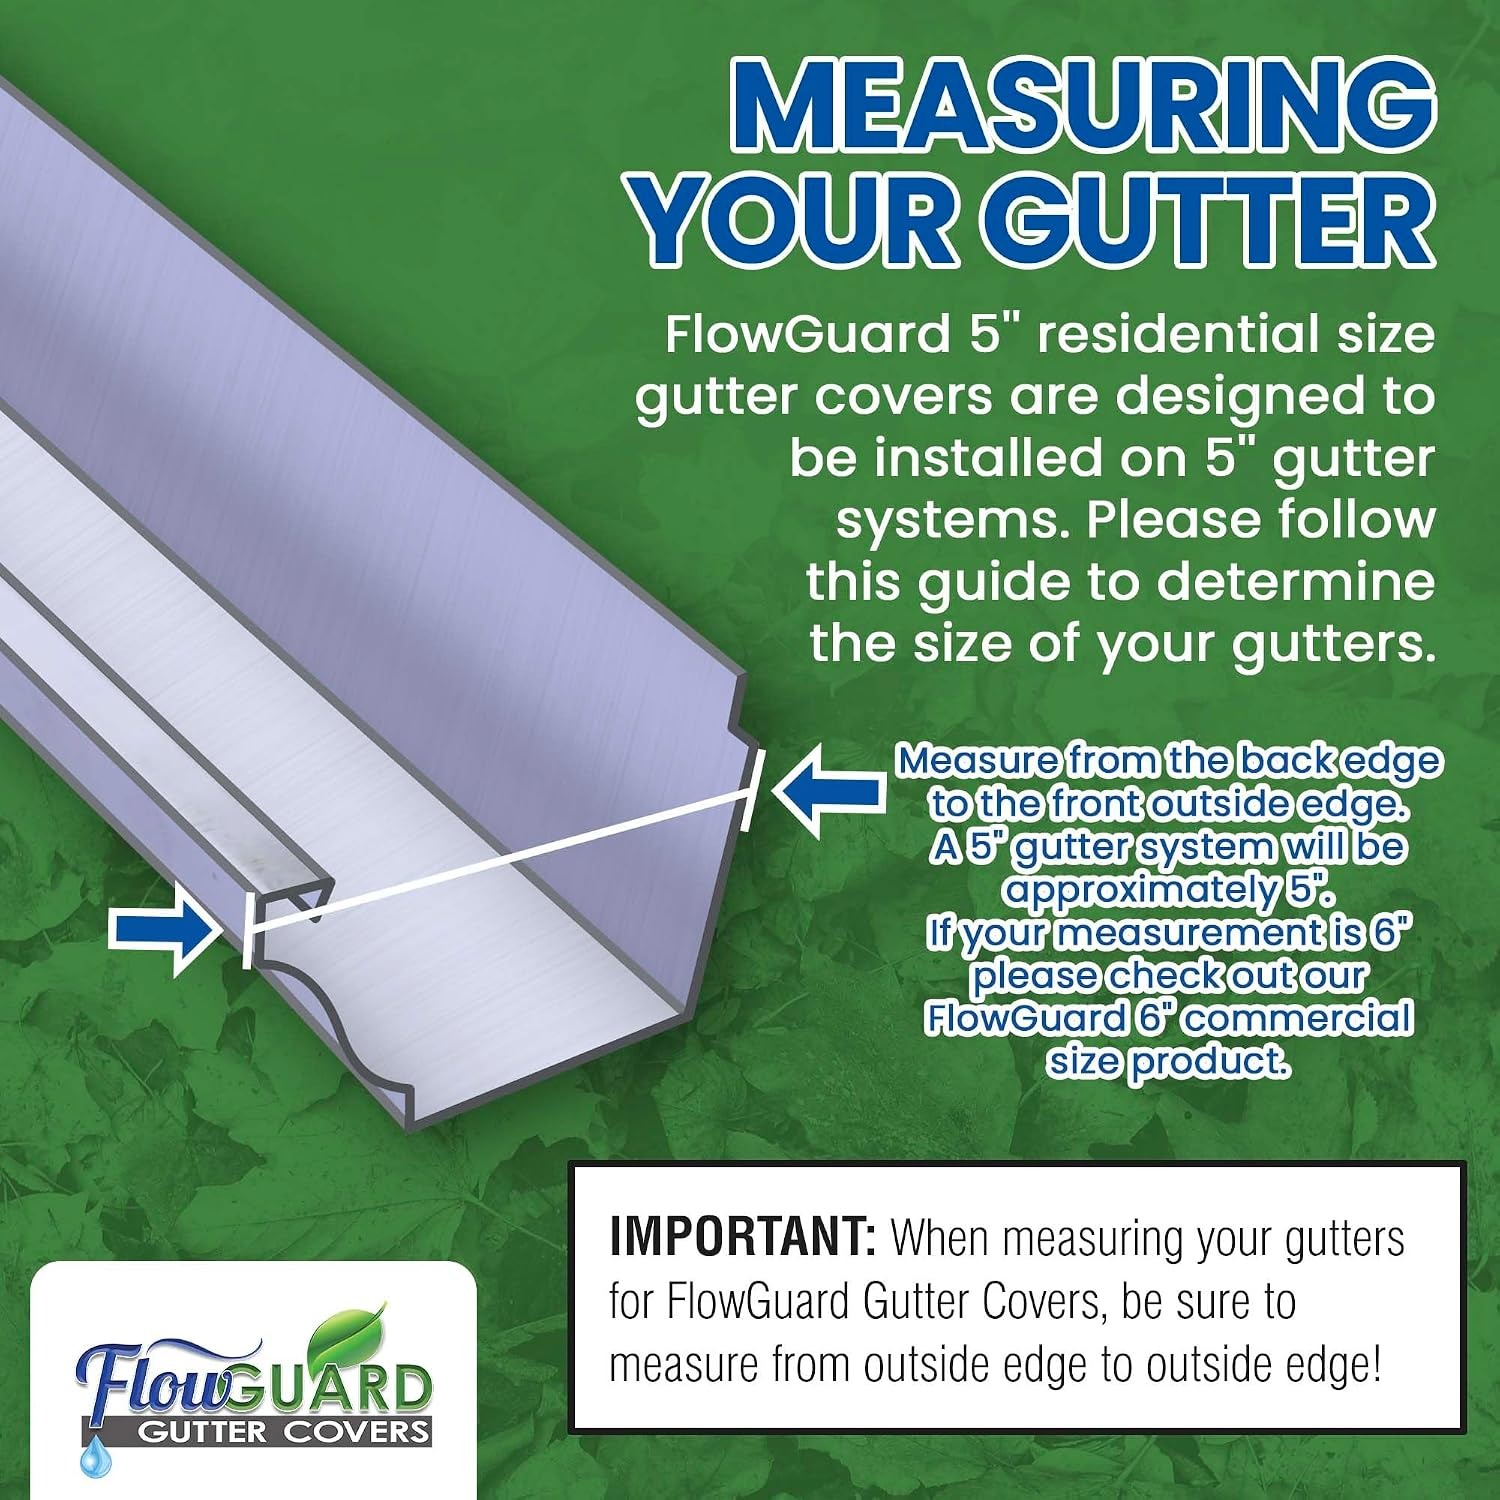
While you are up there with the tape, check the gutter width across the top opening. Front lip to back wall. Close to 5 inches means this product is the right size. Noticeably wider and you need a different size cover.
Installing it without drama
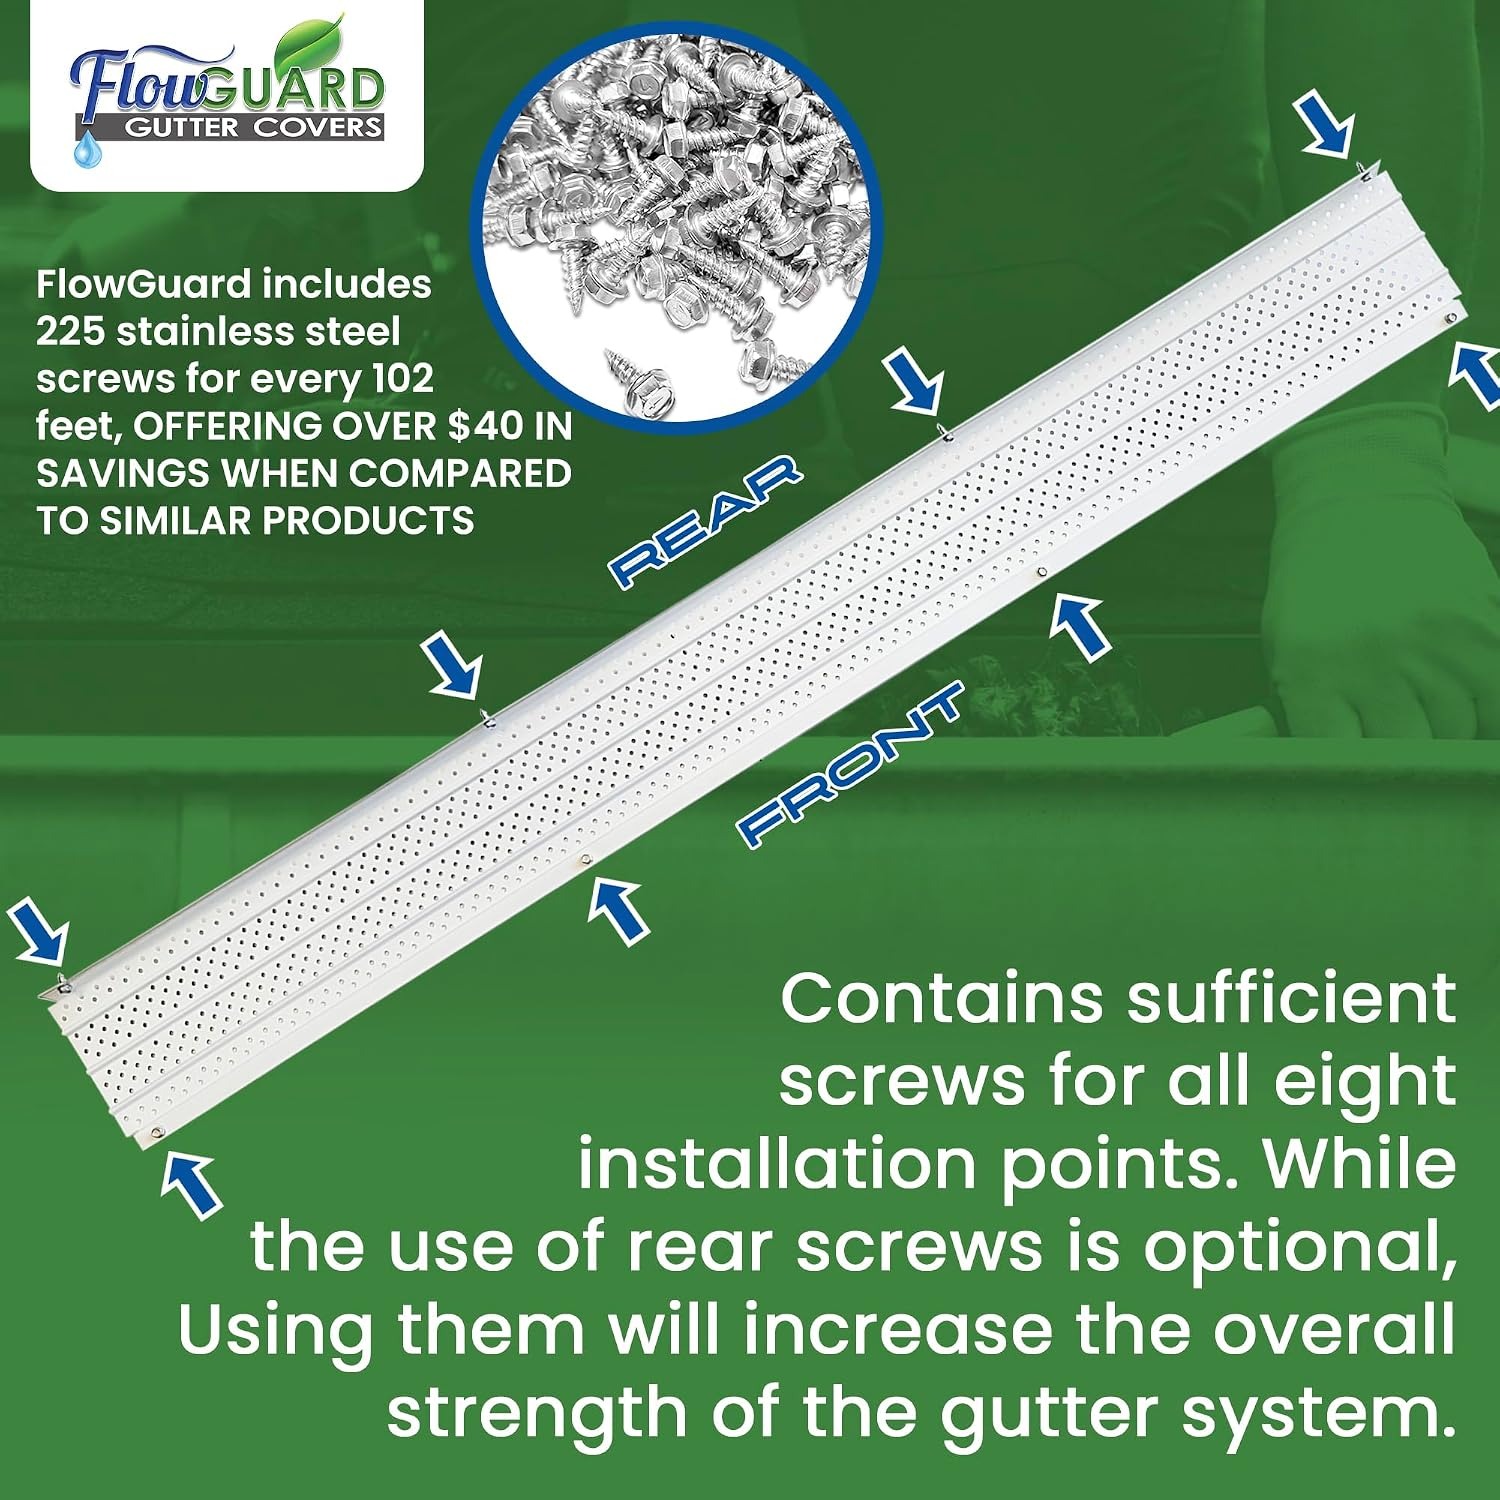
The approach is simple. The cover mounts on top of the gutter and fixes in place with the stainless steel screws included in the kit. You are not lifting roof material, mixing anything, or gluing anything.
Tools are basic. Tin snips or metal shears for cutting, a drill or driver with the right bit for the screws, a stable ladder, work gloves and safety glasses. Cutting metal throws small sharp pieces, so the gloves and glasses are not a formality.
A few habits make the job faster and safer. Cut pieces on a bench or a sawhorse at ground level rather than one-handed at the top of a ladder. Dry-fit a section before you drive screws so you can see how it sits. Move the ladder rather than leaning sideways, every single time. And have someone on the ground to pass sections up and hold the base.
Corners take the longest. Inside and outside corners need angled cuts, and a neat corner is worth the extra five minutes because it is where debris and water tend to misbehave if the fit is sloppy.
Finally, clean the gutters properly before you cover them. Whatever is in there when you fit the cover is staying in there. A full clean out first means you start from zero.
Keeping it working
Even the best gutter protection is a maintenance reduction, not a maintenance elimination. The upkeep is light but it is not nothing.
Once or twice a year, rinse the surface with a garden hose. That clears dust and fine grit before it bonds. Sweep off twigs, seed pods or clumped leaves with a soft broom or an extension pole from the ground where you can reach.
Avoid pointing a pressure washer straight at the fasteners. High pressure can loosen screws or deform edges, and you gain very little over a normal hose. Skip abrasive pads and strong solvents on the painted surface too.
After a serious storm, run your eye along the line from the ground. If a section looks lifted or out of alignment, get up and re-tighten the screws. Catching one loose fastener early is much easier than refitting a whole run later.
If you live under pines, build in an extra sweep each season. Pine needles are the hardest debris for any cover to shed, and a quick pass with a broom keeps the surface clear.
What to compare before you buy
Price per foot is the obvious comparison, but it is not the whole story. Think about material first. Aluminum and stainless steel last outdoors. Plastic and painted carbon steel often do not, and replacing a cheap cover in four years is more expensive than fitting a good one once.
Look at how it fixes. Screw-fixed covers stay put and can be removed if you ever need gutter access. Clip-on and slide-under systems have their own strengths but can be fussier to fit or to reverse.
Check the size match honestly. A cover designed for 5 inch gutters on a 6 inch gutter will never sit properly, no matter how carefully you fit it.
And think about who does the work. If you are comfortable on a ladder with hand tools, a DIY kit saves a large amount of money. If you are not, factor an installer's day rate into your budget and still buy the better material.
The short version
This is a 102 foot aluminum gutter cover kit for 5 inch gutters, supplied as 27 white pieces with stainless steel fasteners in the box. It mounts on top of the gutter, cuts with tin snips, and is light enough at 10 pounds to handle on your own.
Measure your gutter width and your total run length before you order. Clean the gutters out first. Cut on the ground, work with a helper, and take your time on the corners. After that, the main job becomes a yearly rinse and a look from the lawn instead of a bucket, a ladder and a lost weekend.