
The complete guide
How To Choose And Fit A Flexible Downspout Extension
The puddle that never dries out
There is usually one spot on every house. A patch of ground by the back corner, or beside the garage, that stays dark and soft long after the rest of the yard has dried. Grass will not grow there. The soil has washed into a shallow dish. After a storm, water sits in it for a day or two.
That spot is almost always directly under a downspout. Every square meter of roof that drains into that one pipe dumps its water into the same half meter of soil. Over a few years, that is a lot of water hitting a very small target.
The problem is not just mess. Water that pools against a wall soaks into the ground next to your footings. It finds its way into gaps, it keeps the base of your cladding damp, and in cold climates it freezes and expands. None of that happens overnight, which is exactly why people put off dealing with it.
A downspout extension is the small fix. It takes the end of the pipe and moves it away from the wall, so the water lands somewhere it can spread out and soak in harmlessly.
What this one actually is
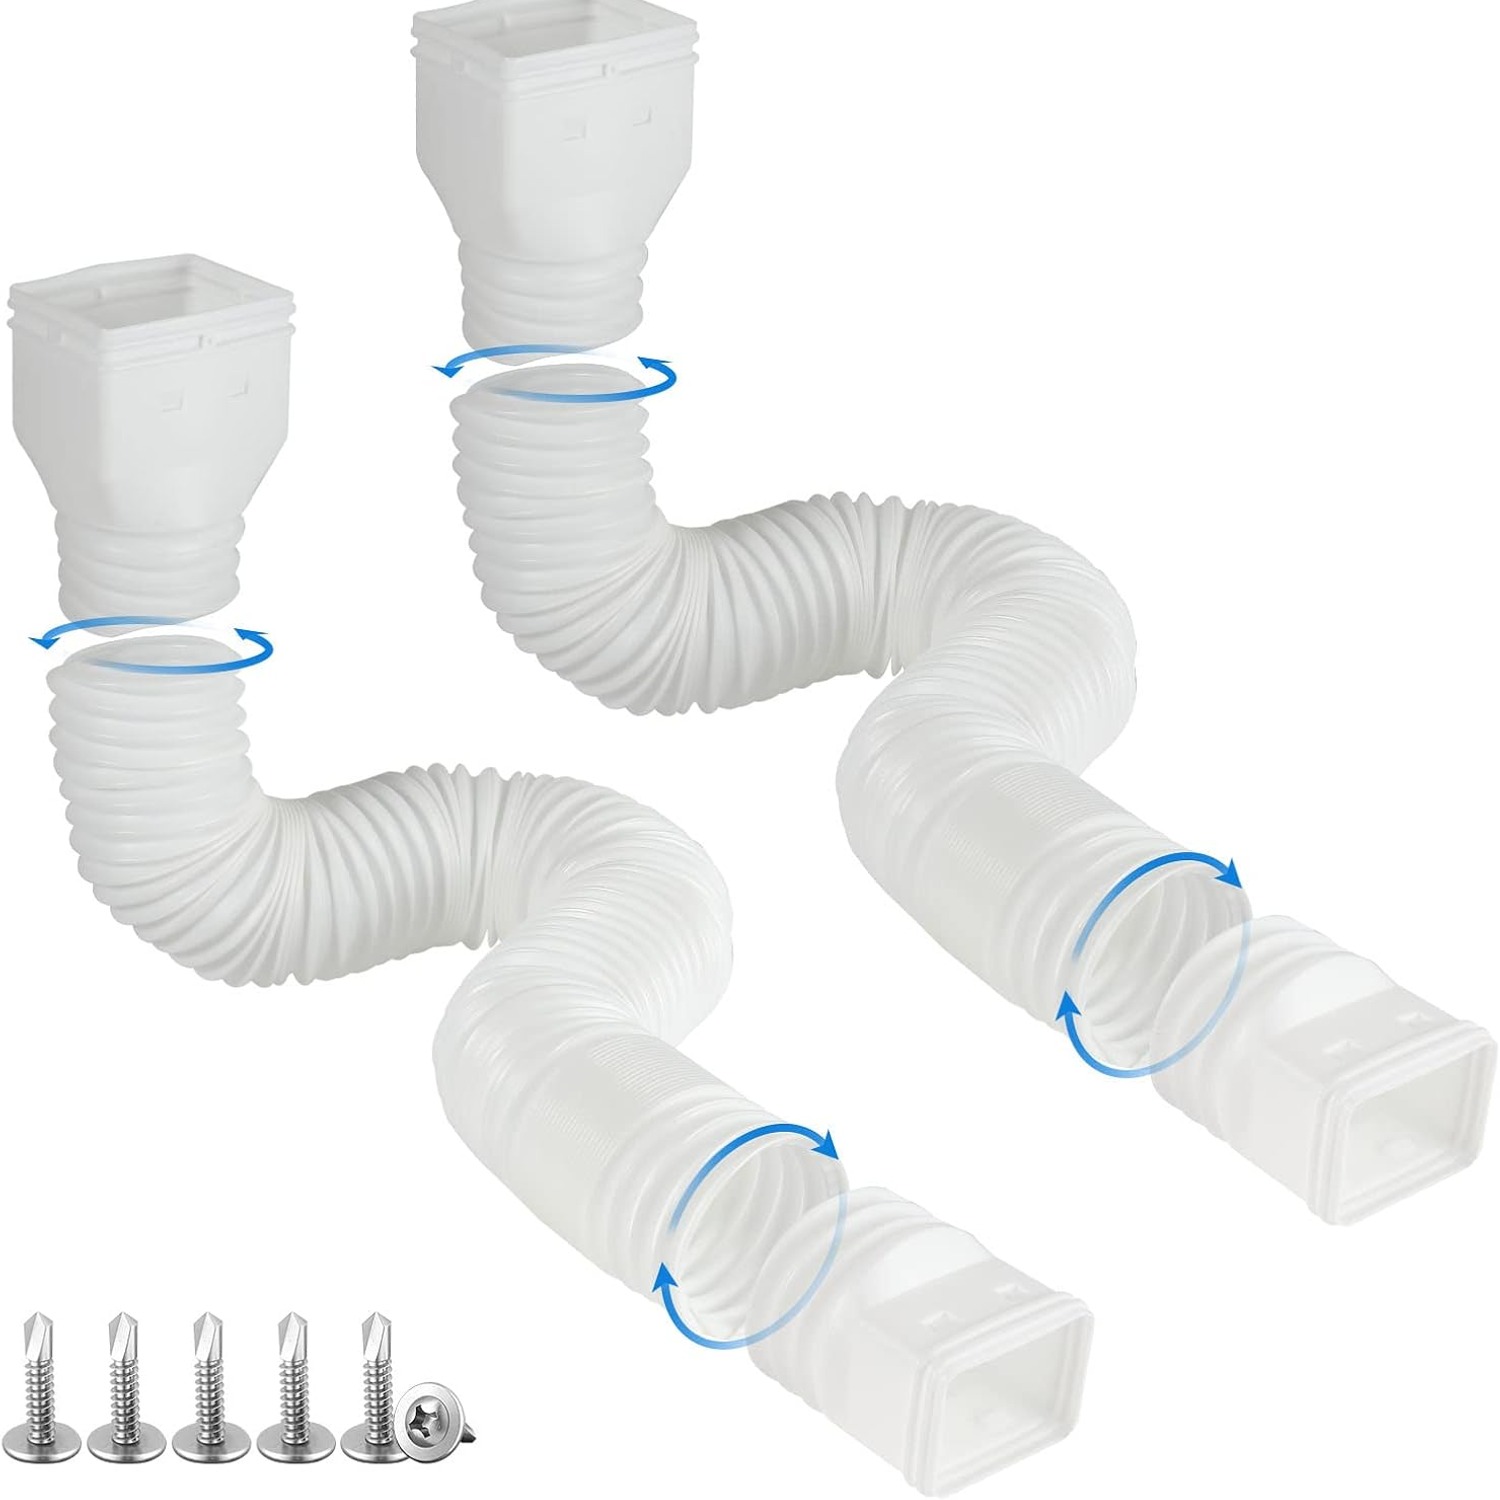
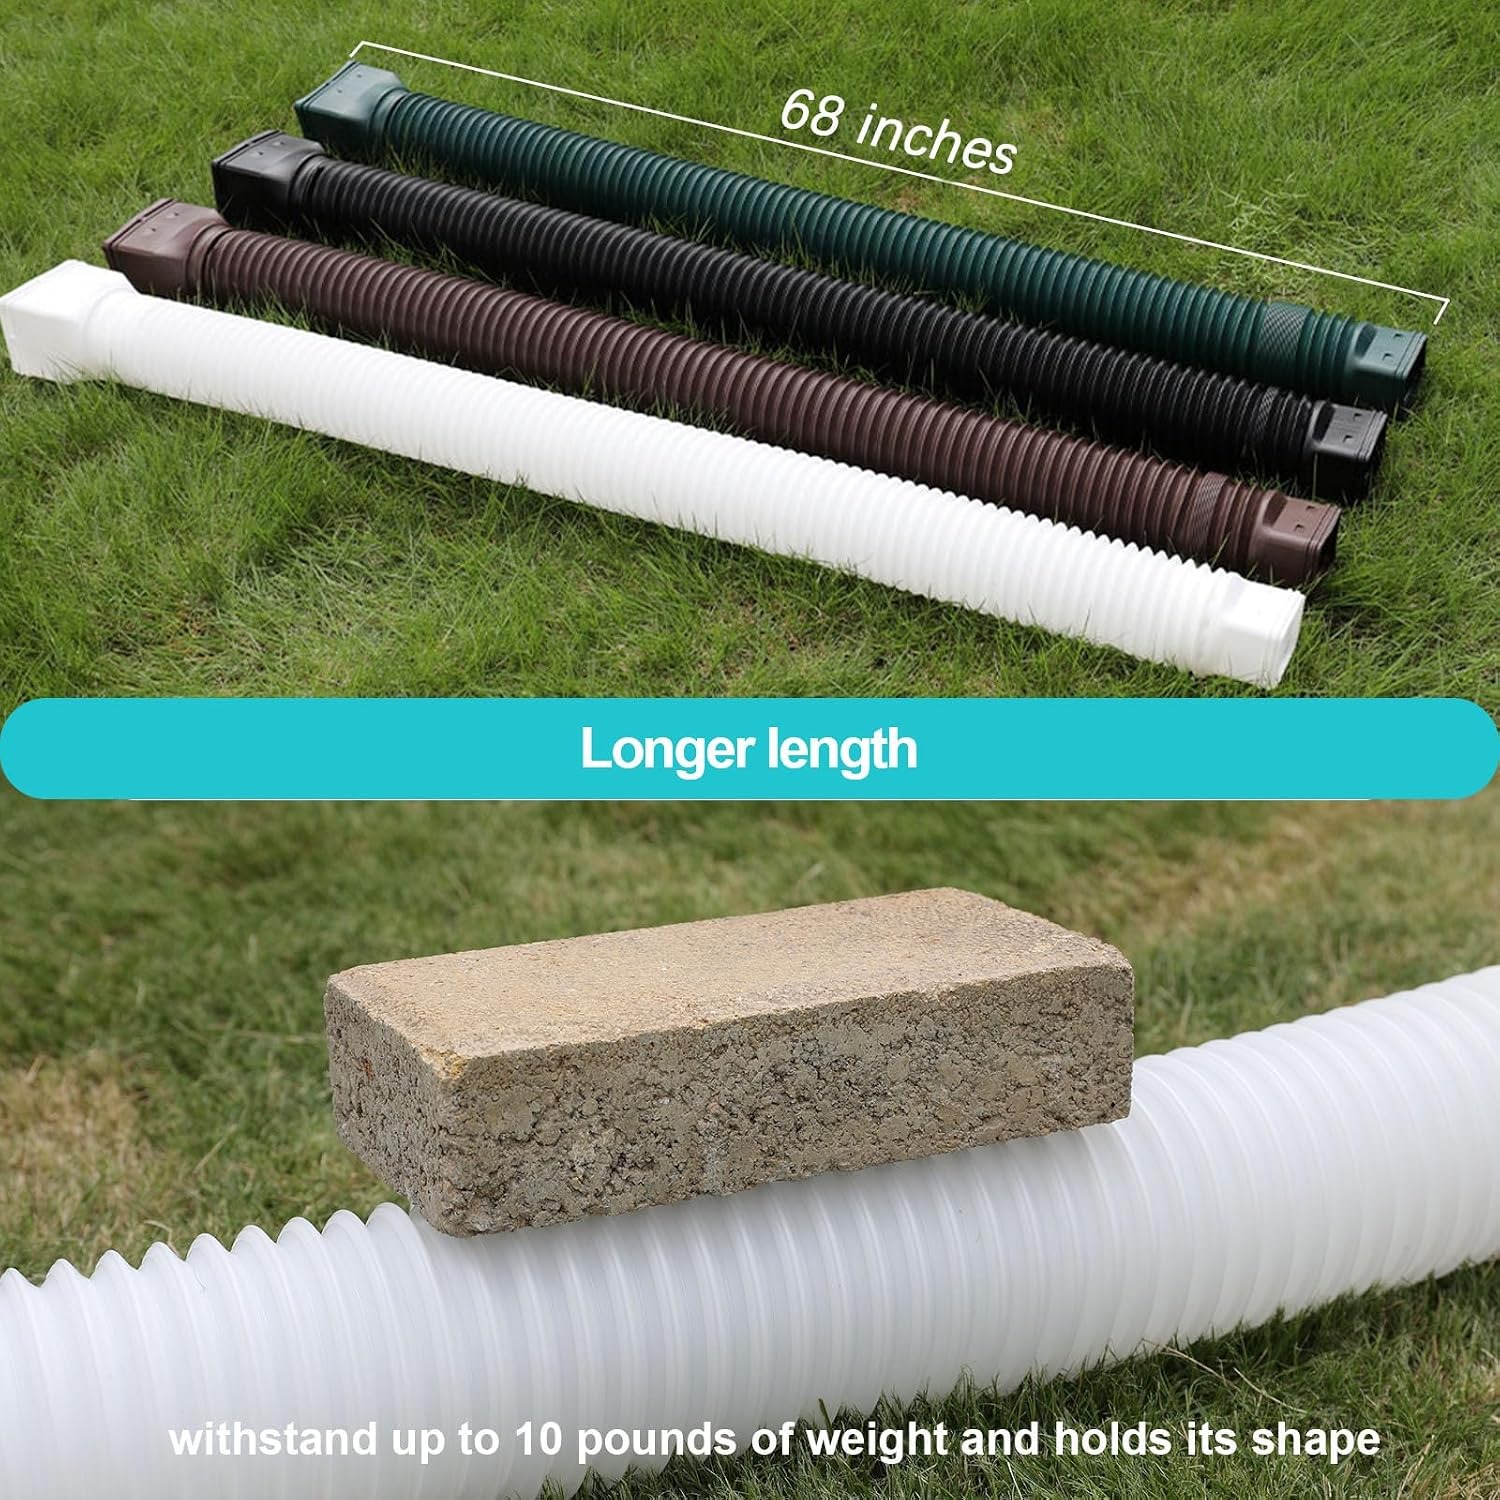
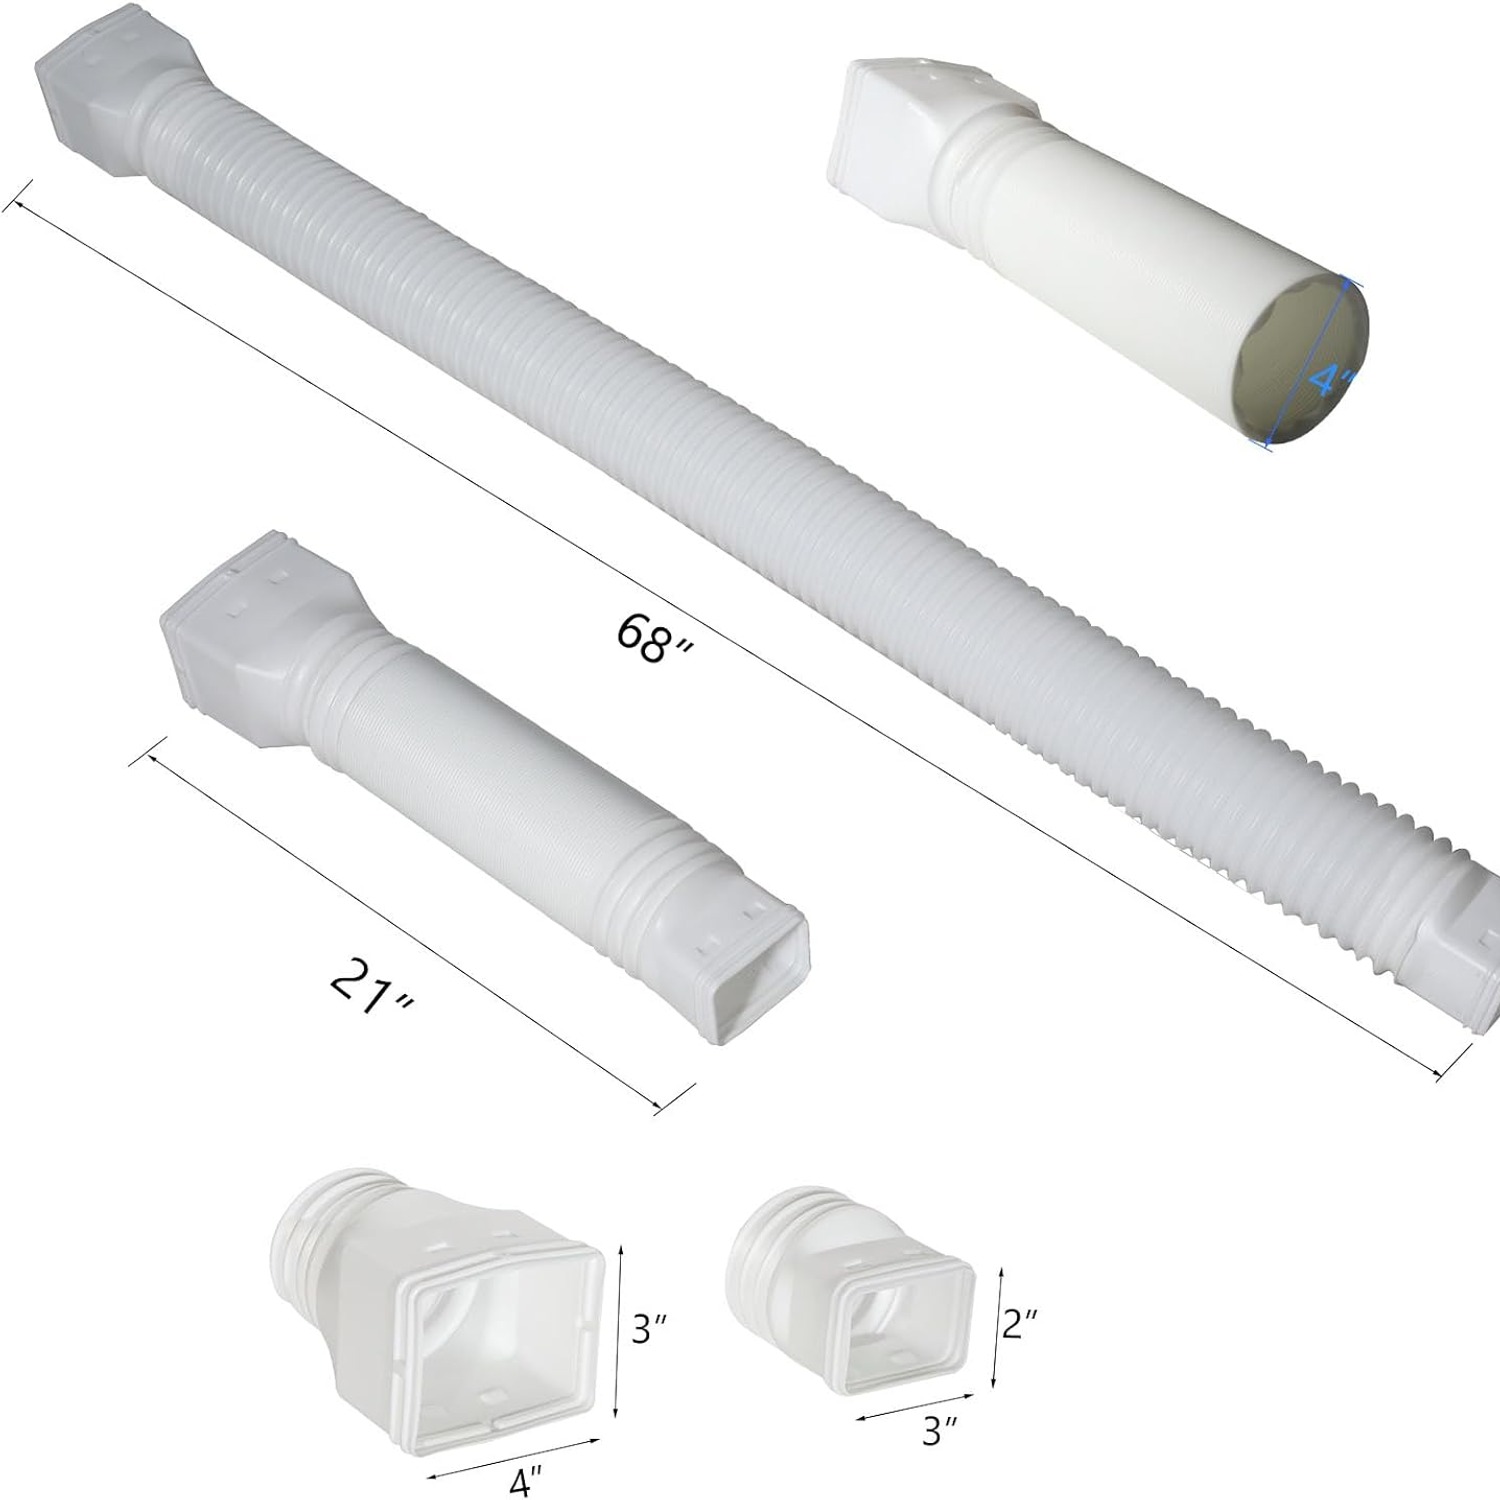
This is a flexible extender rather than a rigid elbow. Each piece pulls out from 21 inches to 68 inches, so you set the length on site rather than buying a fixed size and hoping. The body has a 3 inch outside diameter and it is made from polyethylene, finished in white.
Two come in the pack. In practice, most houses have one or two downspouts causing all the trouble, so a pair usually gets the job done.
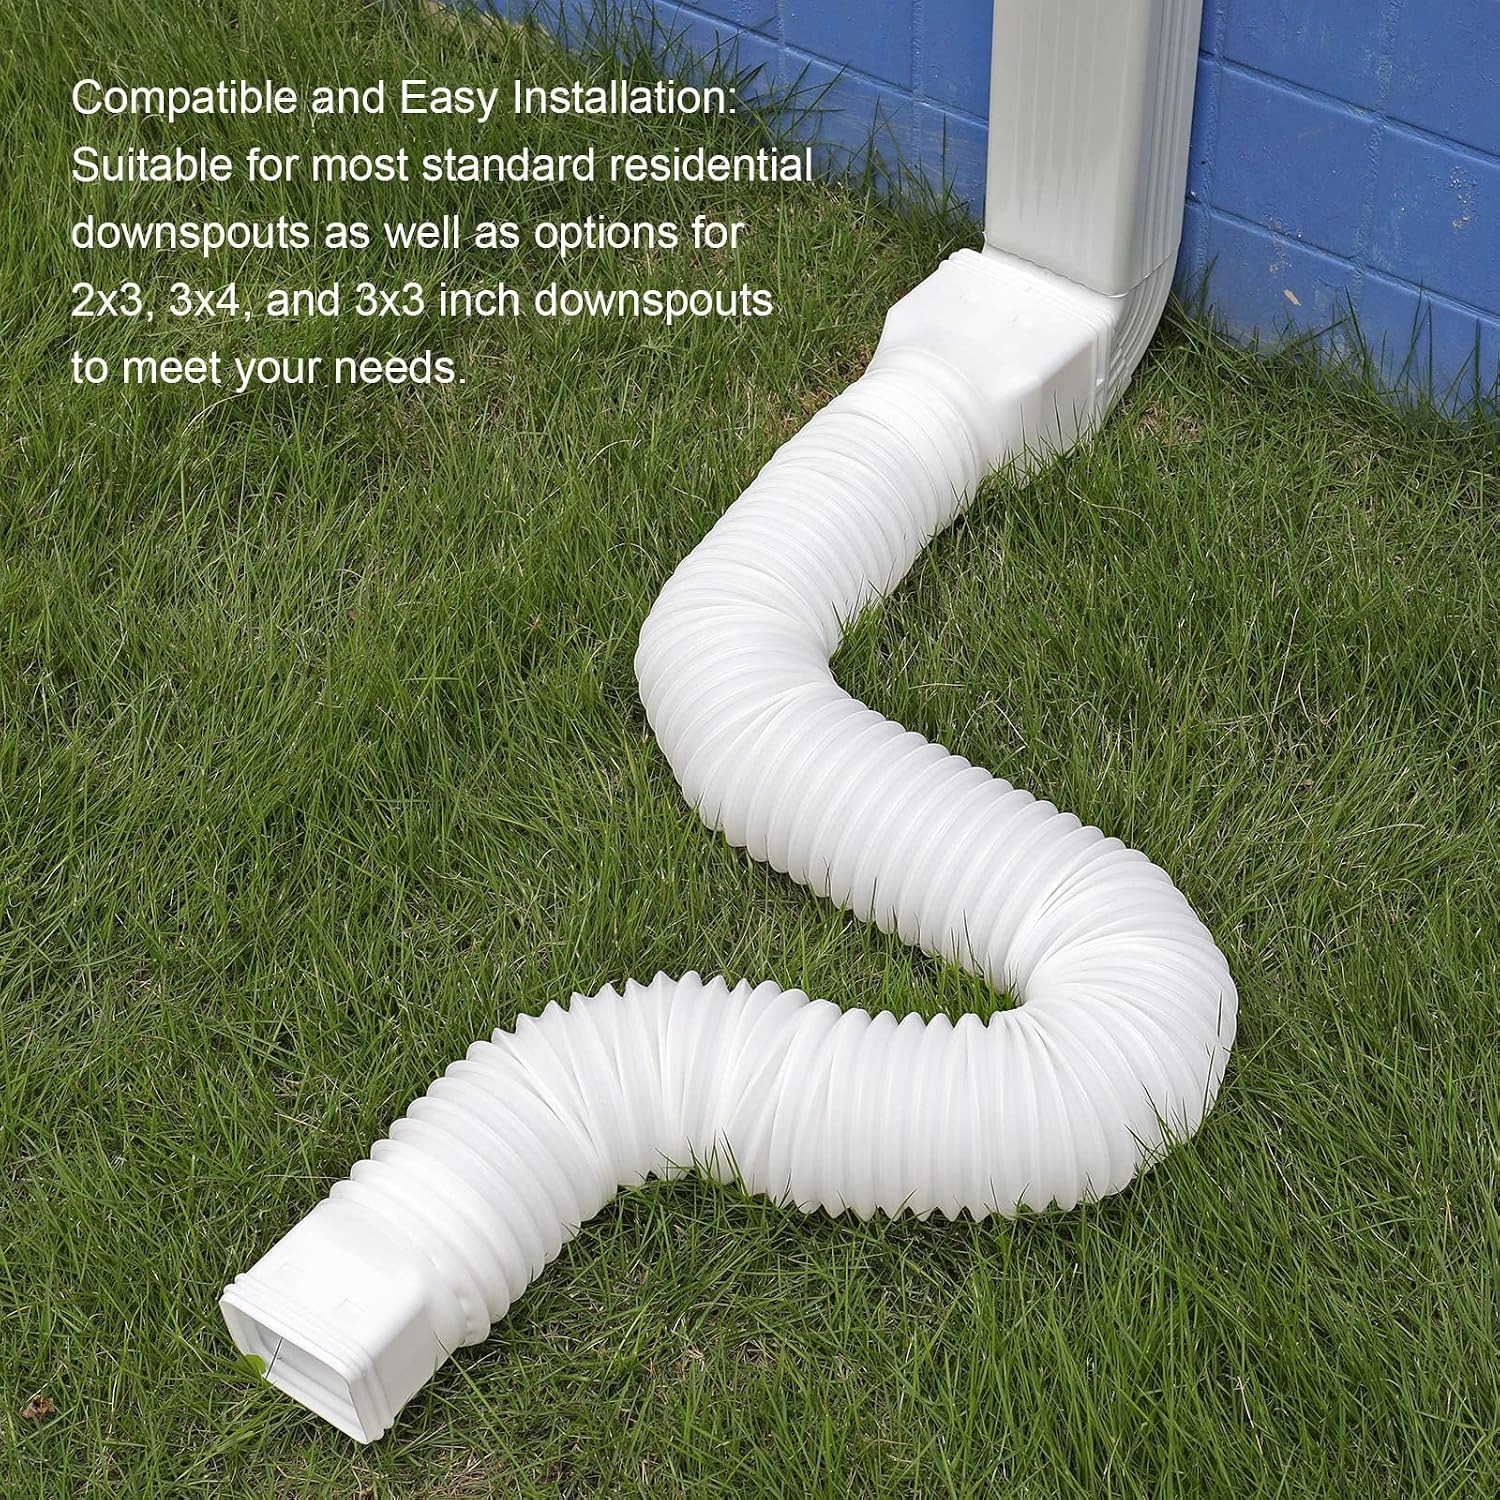
Fitting is handled by adapters. Each extender comes with two adapter sizes that between them cover 2x3 inch, 3x3 inch and 3x4 inch downspouts. Those three sizes account for a large share of residential downspouts, though it is worth taking a tape measure to yours before ordering rather than assuming.
Flexible or rigid
Rigid extensions are fine when the path from the downspout to where you want the water is a straight line over flat ground. They are cheap, they hold their shape, and nothing about them moves.
The trouble is that very few houses have that straight line available. There is a path, a step, a raised bed, an air conditioning unit, a gas meter. The water needs to go around something.
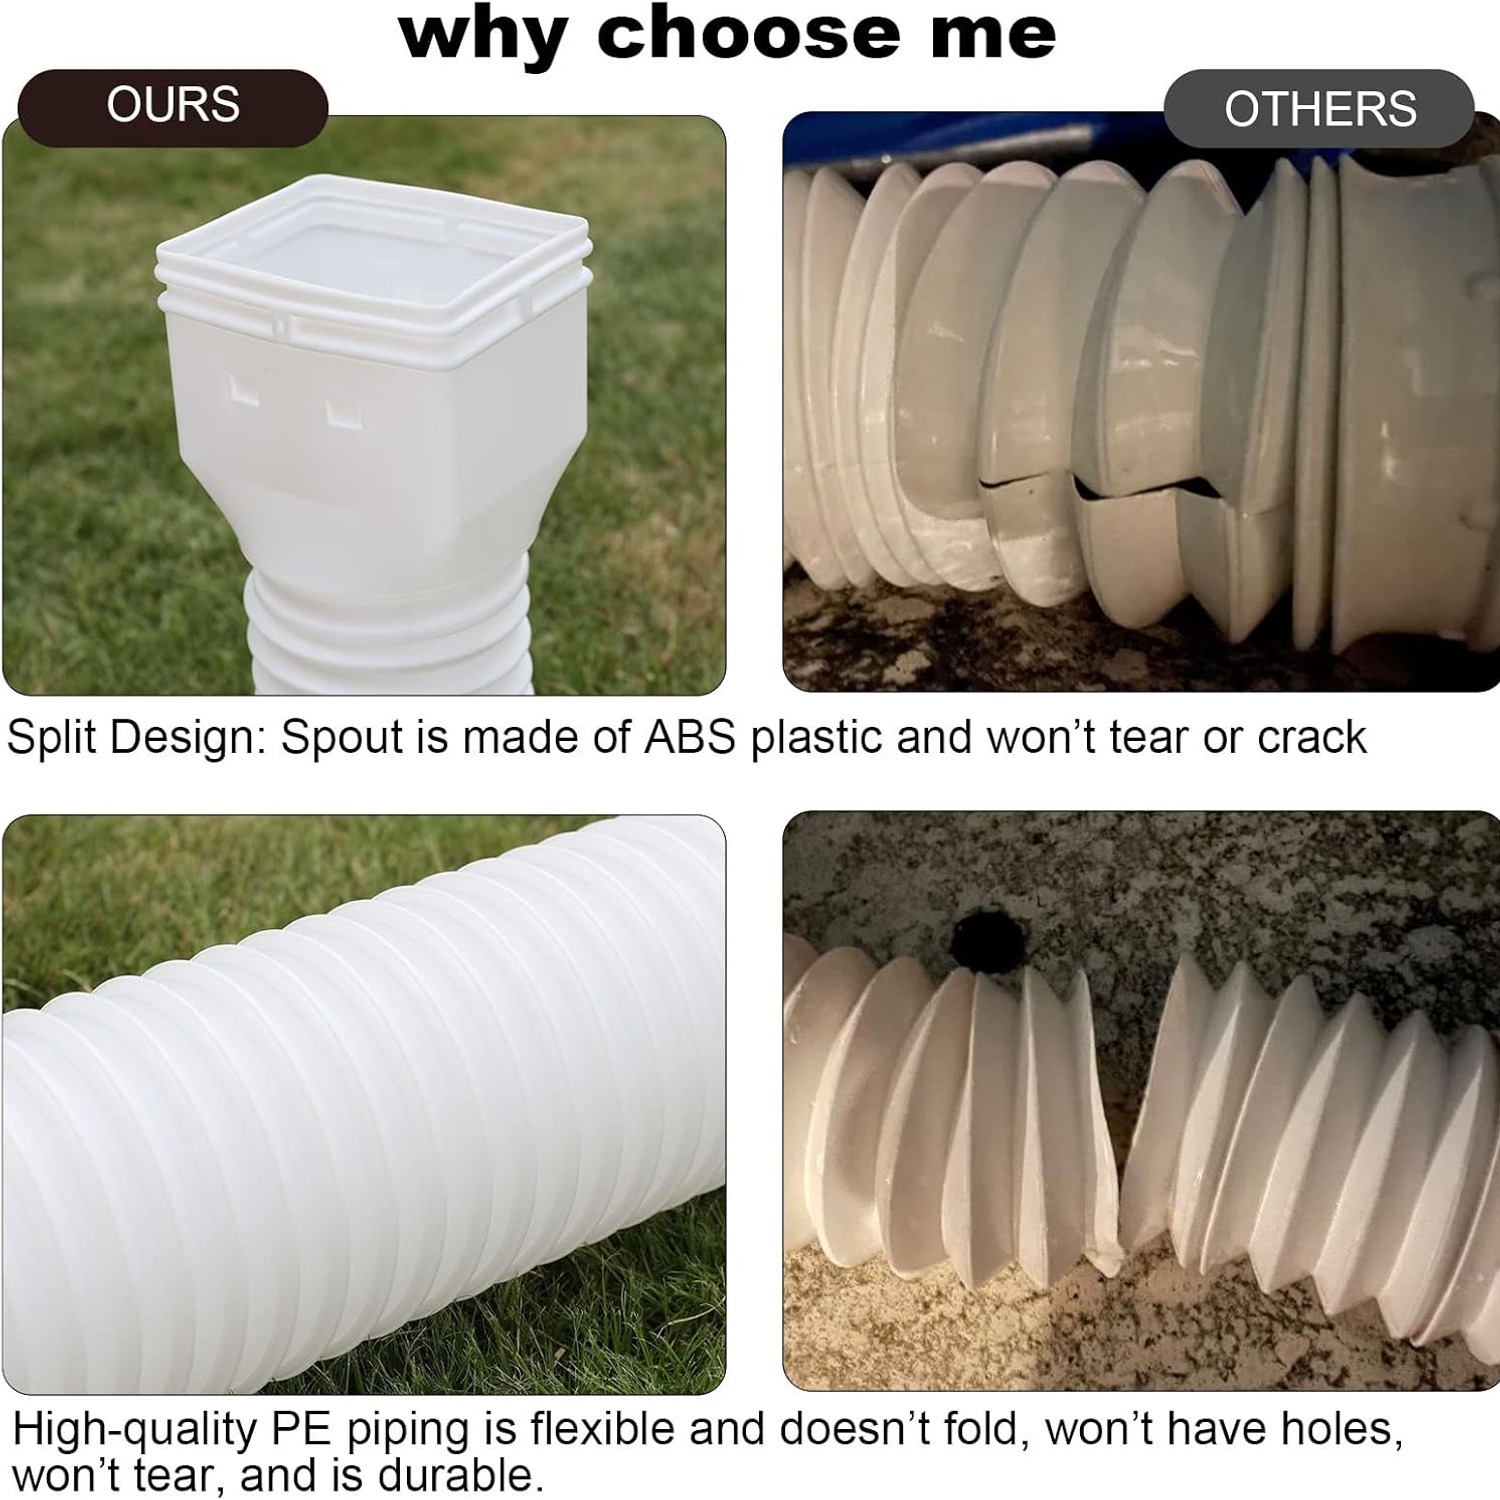
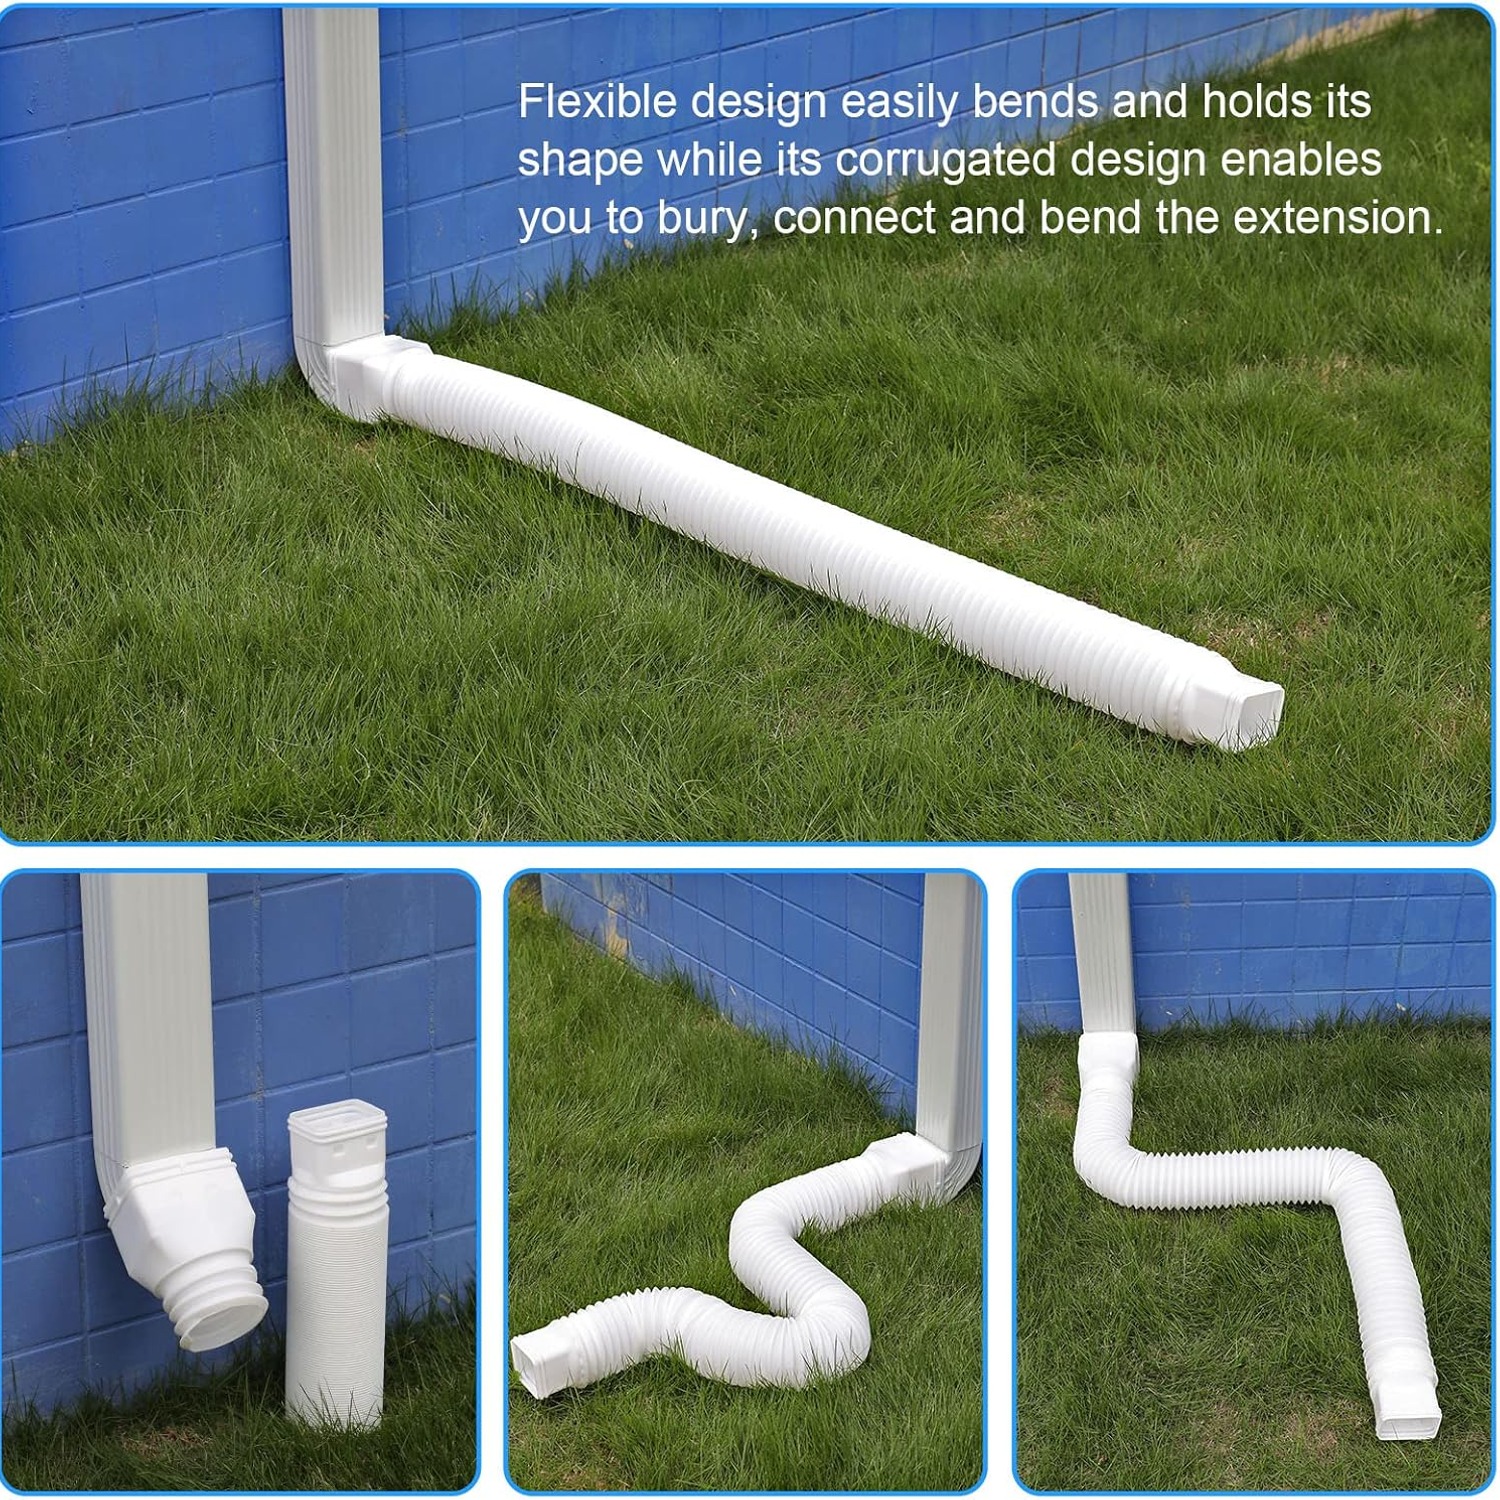
That is where a flexible extender makes sense. You can bend it along a bed edge, curve it past a step, or run it down the side of a path instead of across it. Crucially, it does not hold the crease afterwards. Straighten it out and it goes back to its original shape, so you can move it when you redo the garden.
The trade off is that a flexible pipe is lighter and more inclined to shift. Wind, a stray football, a dog, and it has moved. Most people solve this with a paver on the outlet end or a couple of landscape stakes, and then forget about it.
Working out where the water should go
Before you fit anything, stand in the rain for a minute. Watch where the water currently runs when it leaves the downspout, and look at where the ground falls away.
The target is simple. You want the outlet at least a meter and a half from the wall, and you want the ground at that point to keep sloping away from the house. Dropping water a long way from the wall into a dip that drains back toward the house achieves nothing.
Common good destinations include a garden bed that can absorb the water, a gravel soakaway, a lawn area that drains well, or an existing stormwater grate if your local rules allow that connection. Common bad destinations include your neighbor's yard, a path people walk on, and anywhere that turns into an ice sheet in winter.
If your property slopes toward the house on all sides, an extension will help but it will not solve the underlying issue. That is a job for someone who does drainage work.
Fitting it
The job takes about ten minutes per downspout. Pick the adapter that matches your downspout outlet and push it on. If it is slightly loose, a single self tapping screw through the overlap will hold it without stopping you from taking it apart later.
Attach the extender to the adapter, then pull it out to the length you need. Resist the temptation to extend it to full stretch just because it will go that far. A shorter run with a decent fall drains better than a long one lying flat.
Check the slope. Water needs to run downhill the whole way. If any section dips, water sits there, silt settles out, and eventually the pipe blocks. A slight consistent fall is all you need.
Finish by weighting or pegging the outlet end. This is the step people skip and then wonder why the extension has crept back toward the wall by spring.
Burying it, if you want to
Flexible extenders of this type are often buried, and it tidies up the look considerably. If you go that way, there are a few things worth knowing.
Dig a trench with a steady fall, not a flat bottom. Bed the pipe on a little sand or fine soil so sharp stones do not press into it. Leave the top end at the downspout accessible so you can disconnect it and flush it out.
Make sure the far end daylights somewhere, meaning it opens out above ground where water can escape. A buried pipe with a buried end is just a tank. And check with your local council or utility service before digging anywhere near services.
Keeping it working
Maintenance is light but it is not zero. Twice a year, pull the extender off the adapter and run a hose through it. Grit, roof granules and leaf fragments come down with the water and they settle in the bends. Flushing them out before they compact is the whole job.
Autumn is the important one, after the leaves have dropped. Spring is a good second check, especially after a winter of freeze and thaw.
Before freezing weather, tip out any standing water. Polyethylene handles cold well, but a pipe full of ice is a pipe that is not draining, which means water backs up to the downspout and overflows at the gutter instead.
Also worth a glance after any big storm. Check the join is still seated and the outlet has not been pushed out of position by the volume of water.
Who this suits
This is a good match if you have an obvious problem spot under a downspout and reasonably standard downspouts in the 2x3 to 3x4 inch range. It suits people who want to adjust the length and direction themselves rather than cutting rigid pipe.
It also suits anyone who wants to use roof water rather than waste it. Pointing the outlet into a garden bed turns a nuisance into free irrigation, as long as the flow is spread out and not blasting into bare soil.
It is less suited to very exposed sites where nothing light stays put, to downspouts outside the supported size range, or to houses with serious water intrusion already happening. In the last case, deal with the cause first.
The short version
Roof water concentrated in one spot next to a wall is a slow problem that gets expensive. A downspout extension moves the discharge point away, which is a cheap intervention with a real payoff.
This pack gives you two flexible extenders in white, each adjusting from 21 to 68 inches, made from polyethylene with a 3 inch outside diameter, and supplied with adapters for 2x3, 3x3 and 3x4 inch downspouts.
Measure your downspout, pick your destination for the water, set the length with a steady fall, weight the far end, and flush it out twice a year. That is the whole thing.