

The complete guide
The Practical Guide to Downspout Strainers and Keeping Gutters Clear
The problem nobody notices until water is running down the wall
Gutters get blamed for a lot of things that are not really their fault. A gutter is just a channel. It holds water and moves it sideways. The place where trouble usually starts is the small round hole at the end of that channel, where everything funnels down into the downspout.
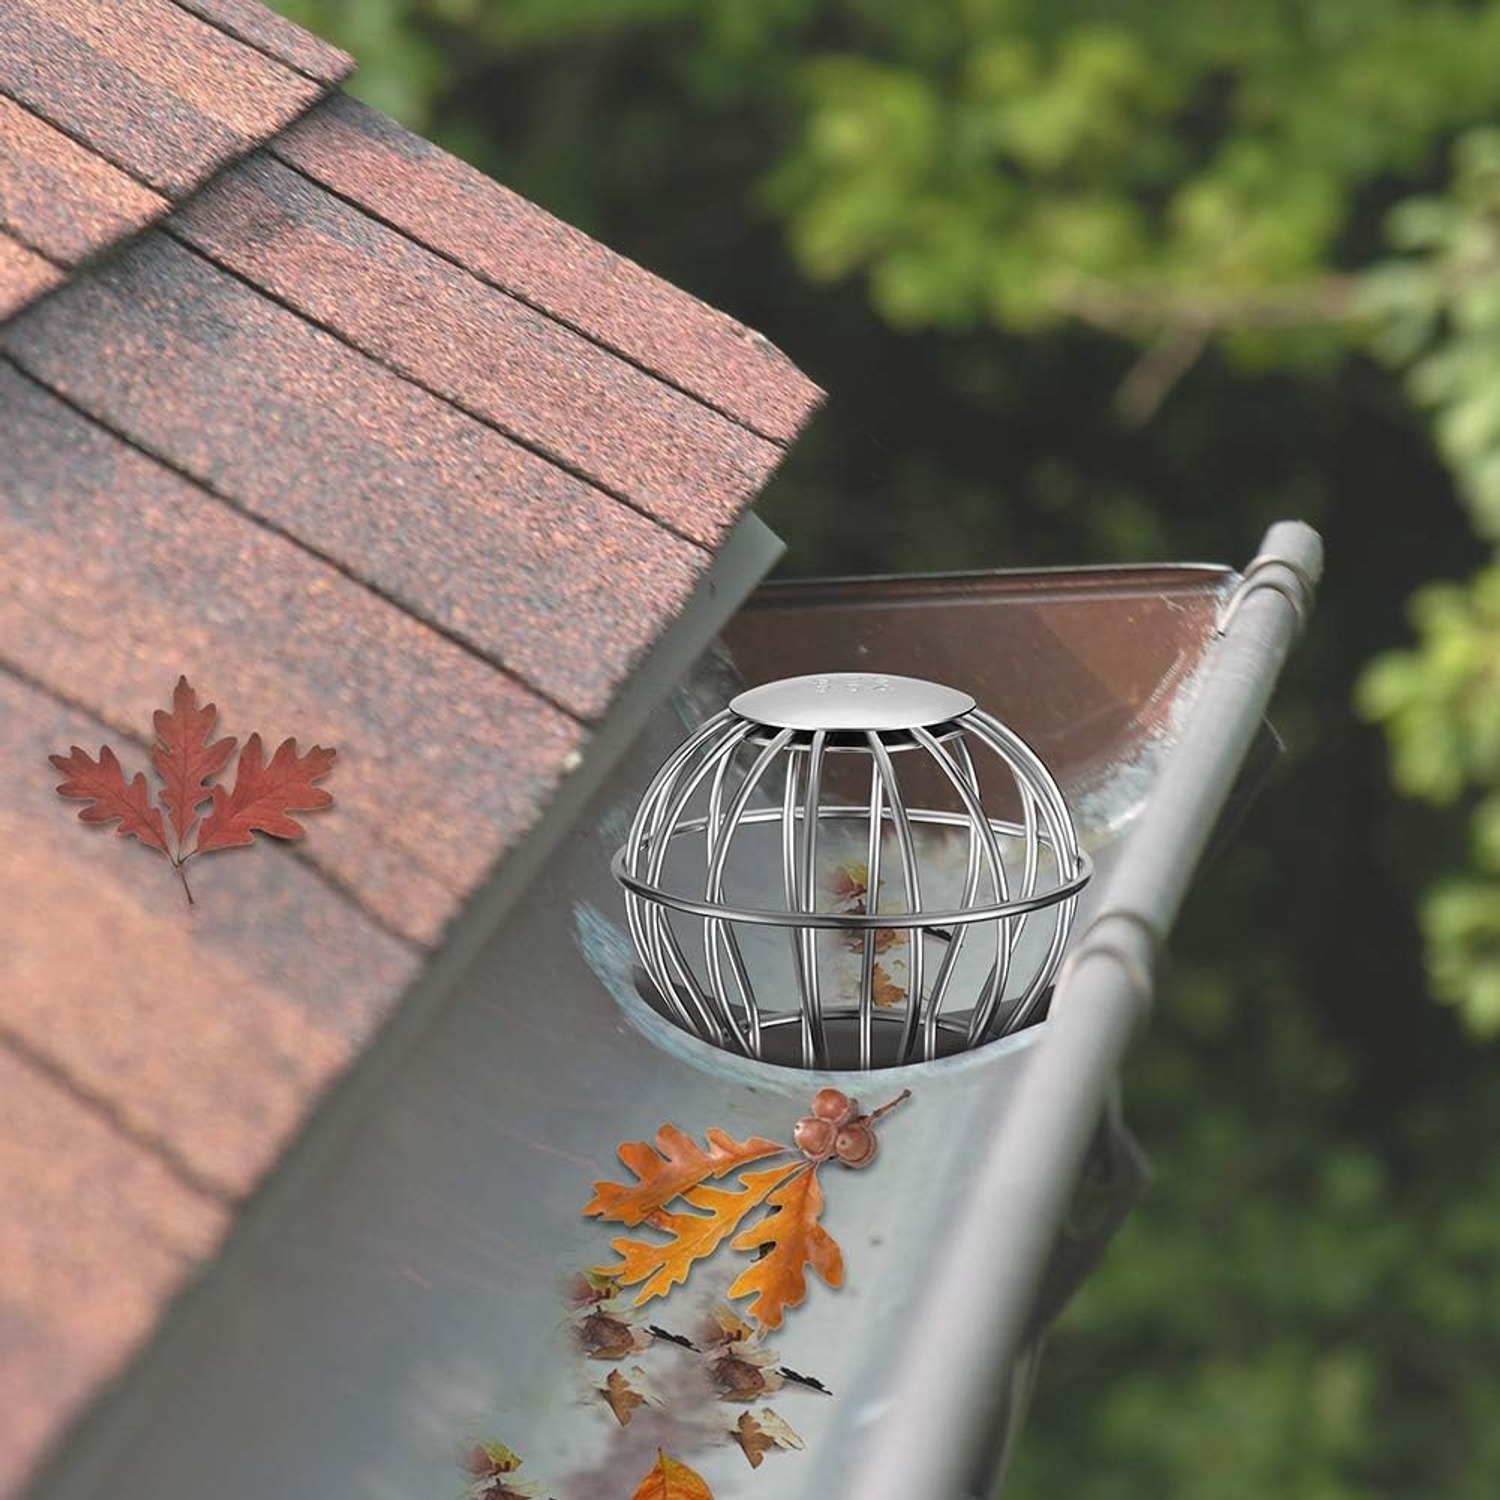
That hole is the narrowest point in the entire system. Your gutter might be five inches wide, but the drain opening is often barely two. So every leaf, twig, seed pod and clump of moss that washes along the gutter eventually arrives at that one pinch point. A few of them wedge together, water slows, more debris piles on the back of it, and within one decent storm you have a plug.
Once that happens, water has nowhere to go. It fills the gutter, spills over the front edge and runs down the face of the building. Over time that means stained render, damp brickwork, rotten fascia boards and saturated ground right against the foundation. All from a hole the size of a coffee cup.
A small downspout strainer is the cheapest thing you can do about it.
How a downspout strainer works
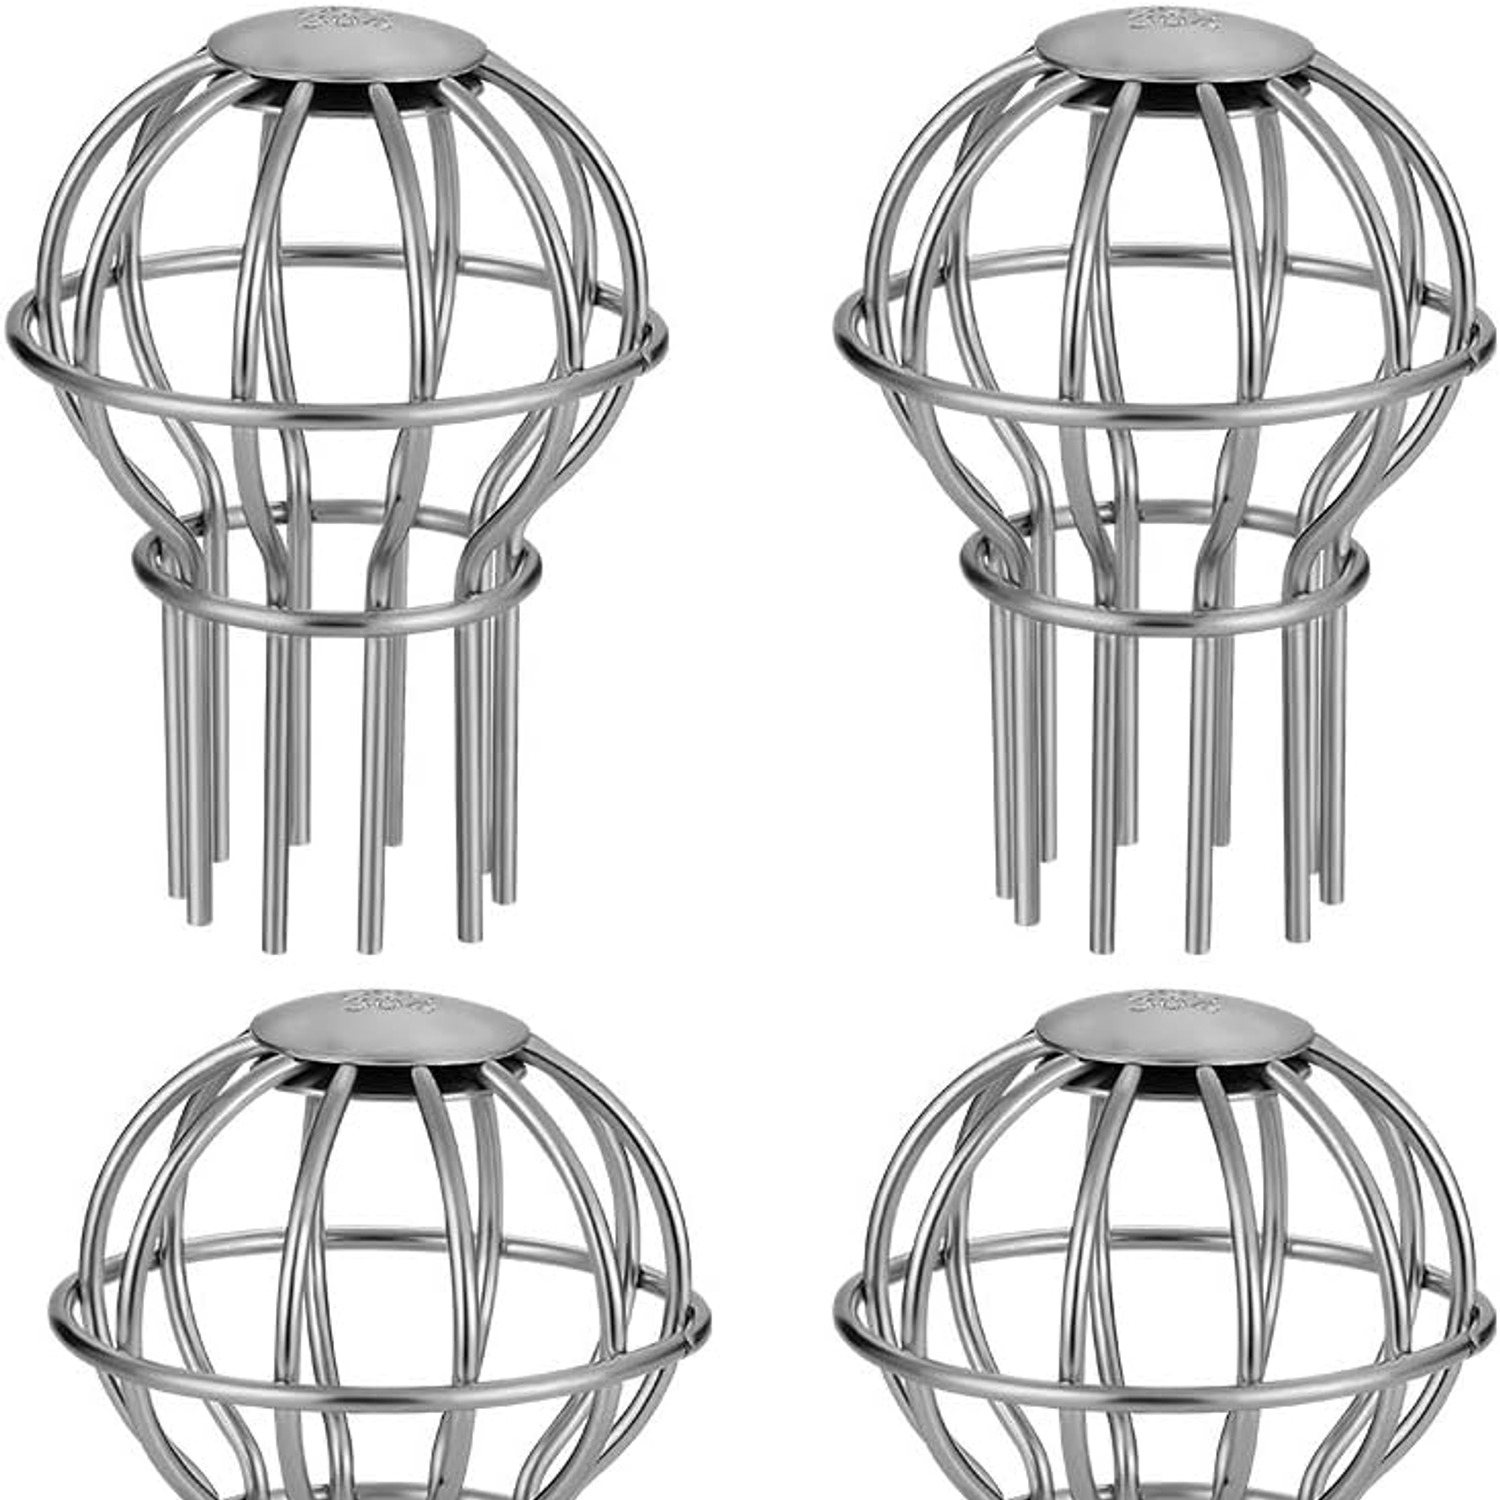
The idea is simple. You put a cage in the hole. Water goes through the cage, debris stays on top of it.
The execution is where designs differ. Early versions were basically flat wire baskets, and they had a predictable flaw. Leaves land flat on a flat surface and stay there. Within a few weeks you get a soggy mat sitting over the opening, and the strainer has become the clog instead of the cure.
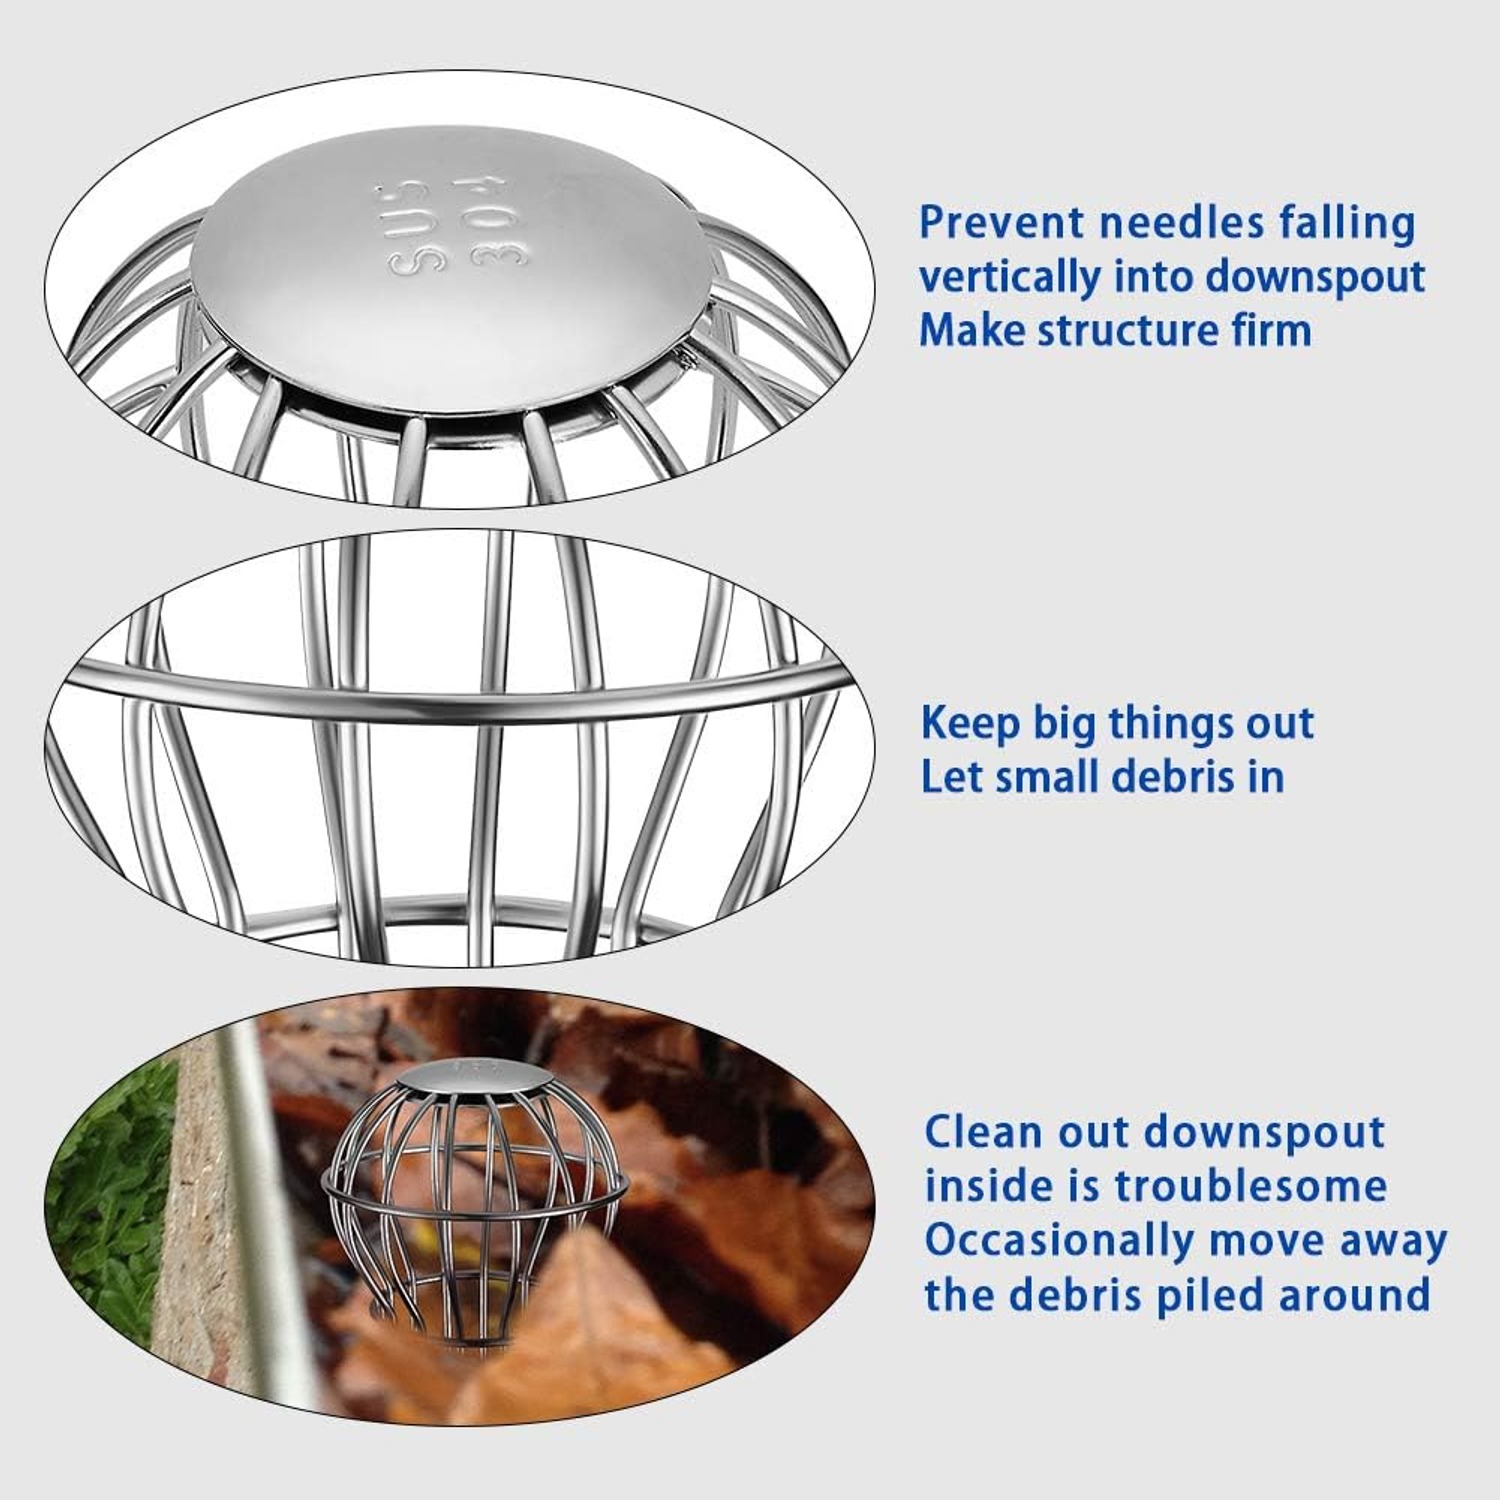
This strainer uses a domed head instead. The top is spherical, so a leaf that lands on it tends to slide off to one side rather than lie down and settle. It then sits loose on the gutter floor where it dries out, and quite often blows away on its own before you ever see it.
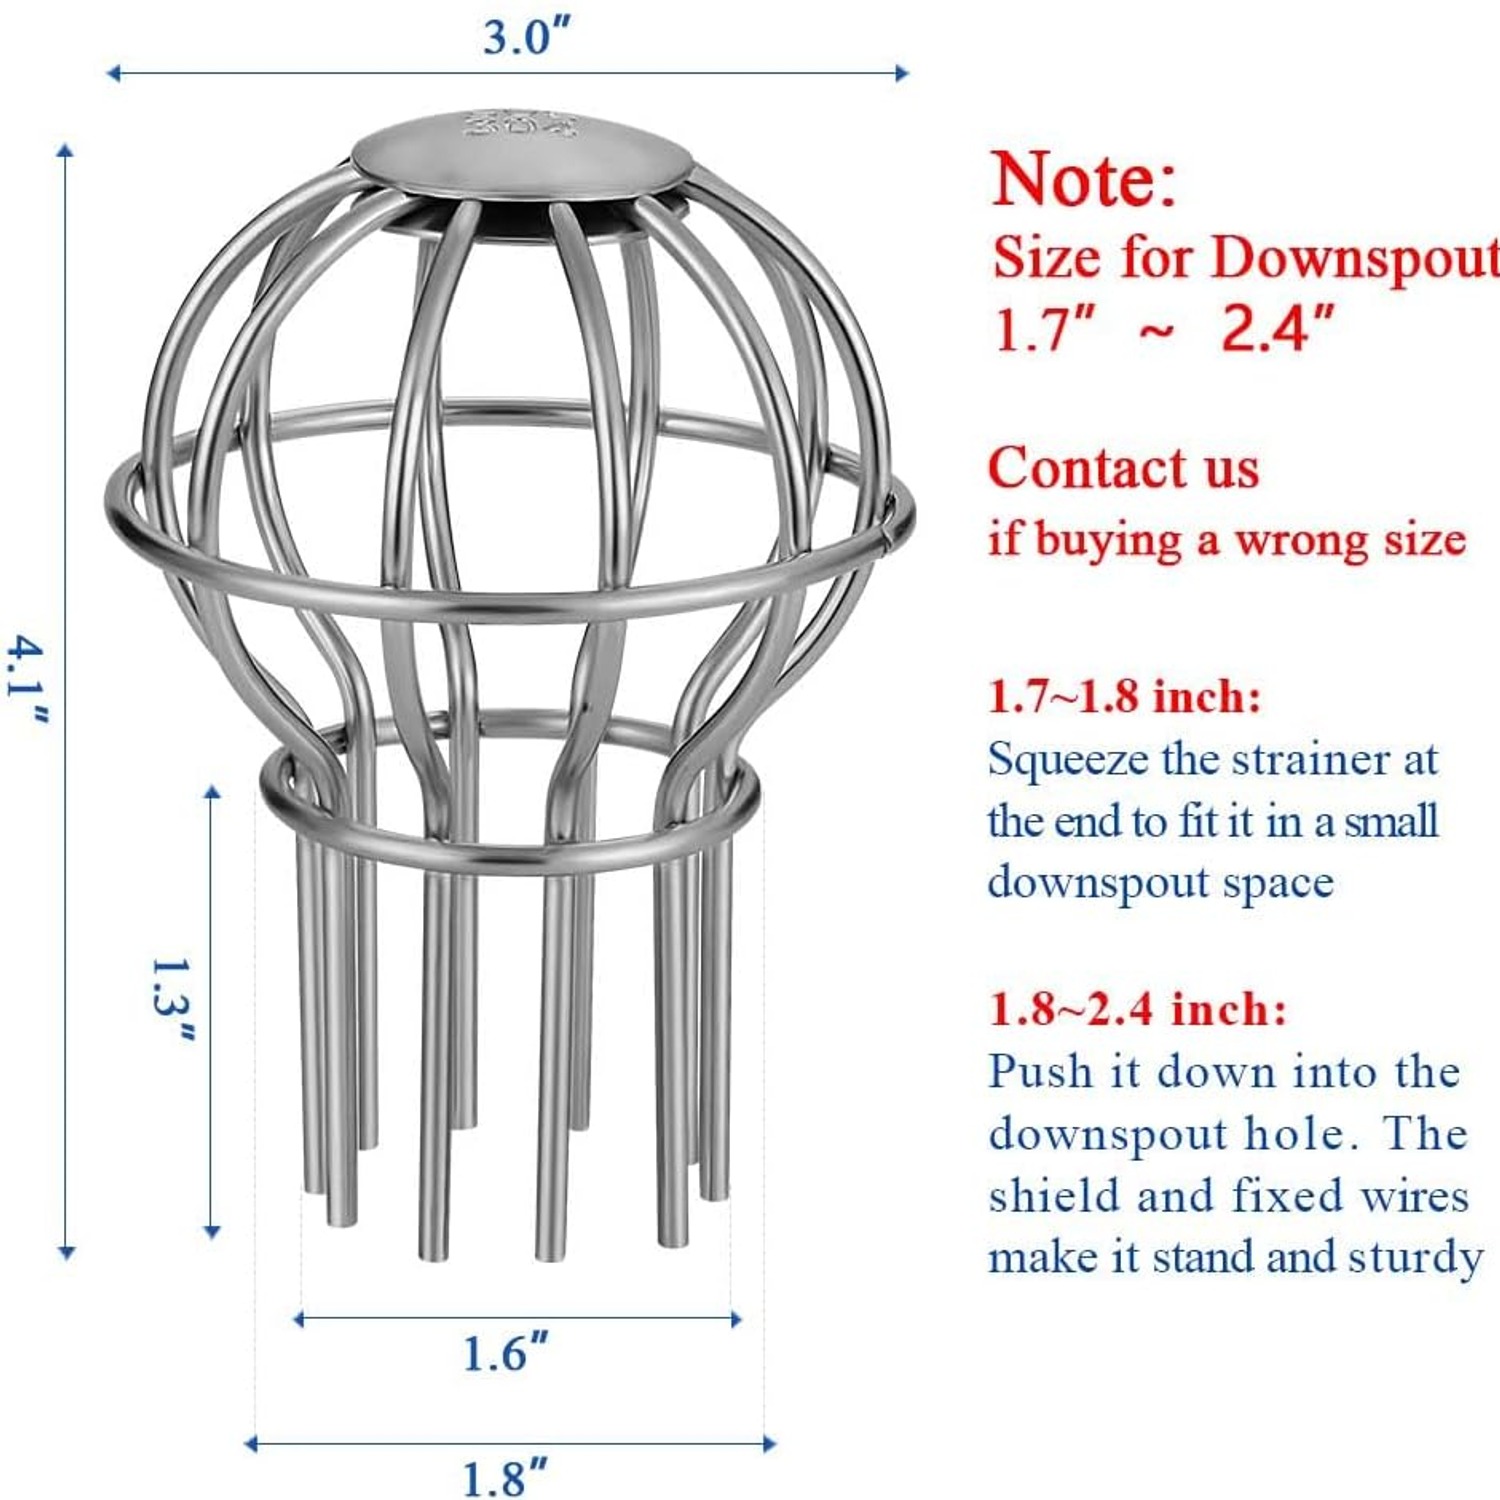
Below the dome, ten vertical steel bars form the body of the cage. The gaps between those bars run in the direction of water flow, which matters more than it sounds. Needles and fine grit tend to orient themselves with the flow and wash straight down the tube rather than bridging across the gaps. That is exactly the failure mode that kills fine mesh screens in pine country, and it is the main reason people go hunting for the best round downspout screen after their first mesh attempt turns into a solid felt pad.
Why the material choice matters
Anything fitted into a gutter lives in standing water for part of its life. That rules out a lot of materials pretty quickly.
Plastic strainers are cheap and they work for a season or two. Then ultraviolet light does its thing, the plastic goes chalky and brittle, and the first cold snap or careless scoop cracks it. Plain steel or galvanised wire holds up a bit longer but eventually rusts, and rust streaks down a painted downspout are not a good look.
These are made from 304 stainless steel. That grade contains at least 18 percent chromium, and the chromium is what does the work. It forms a thin protective layer on the surface that resists corrosion and oxidation, and it reforms itself if the surface gets scratched. In practical terms that means the strainer rinses clean and keeps its bright finish after long exposure rather than degrading.
Stainless also has a mechanical advantage. The bars hold their shape under load, so a strainer does not deform when a branch lands on it or when you lever debris off with a trowel. If you are comparing options and looking for the best rust proof downspout guard, material grade is the single spec worth checking.
Getting the size right
This is the part people get wrong, so it is worth spending a minute on.
The strainer is listed as a 2 inch model, and it suits openings from 1.7 to 2.6 inches. That measurement is the inside of the drain hole in the bottom of your gutter, not the outside of the downspout pipe. Those two numbers are different, sometimes by half an inch or more once you account for the pipe wall and any crimped joint.
Take a tape measure up with you and measure the actual hole. If it falls inside the range, you are set. If it sits at the small end, say around 1.7 or 1.8 inches, you can squeeze the cage gently with pliers to narrow it until it seats firmly. Work slowly and check the fit as you go, because overdoing it distorts the bars.
If your opening is larger than 2.6 inches, this size will not hold and will eventually drop through into the pipe. Look for a larger strainer instead. A four pack is enough for a typical house with four corner downspouts, and the spares are handy if you have a shed or garage with its own guttering.
Fitting them
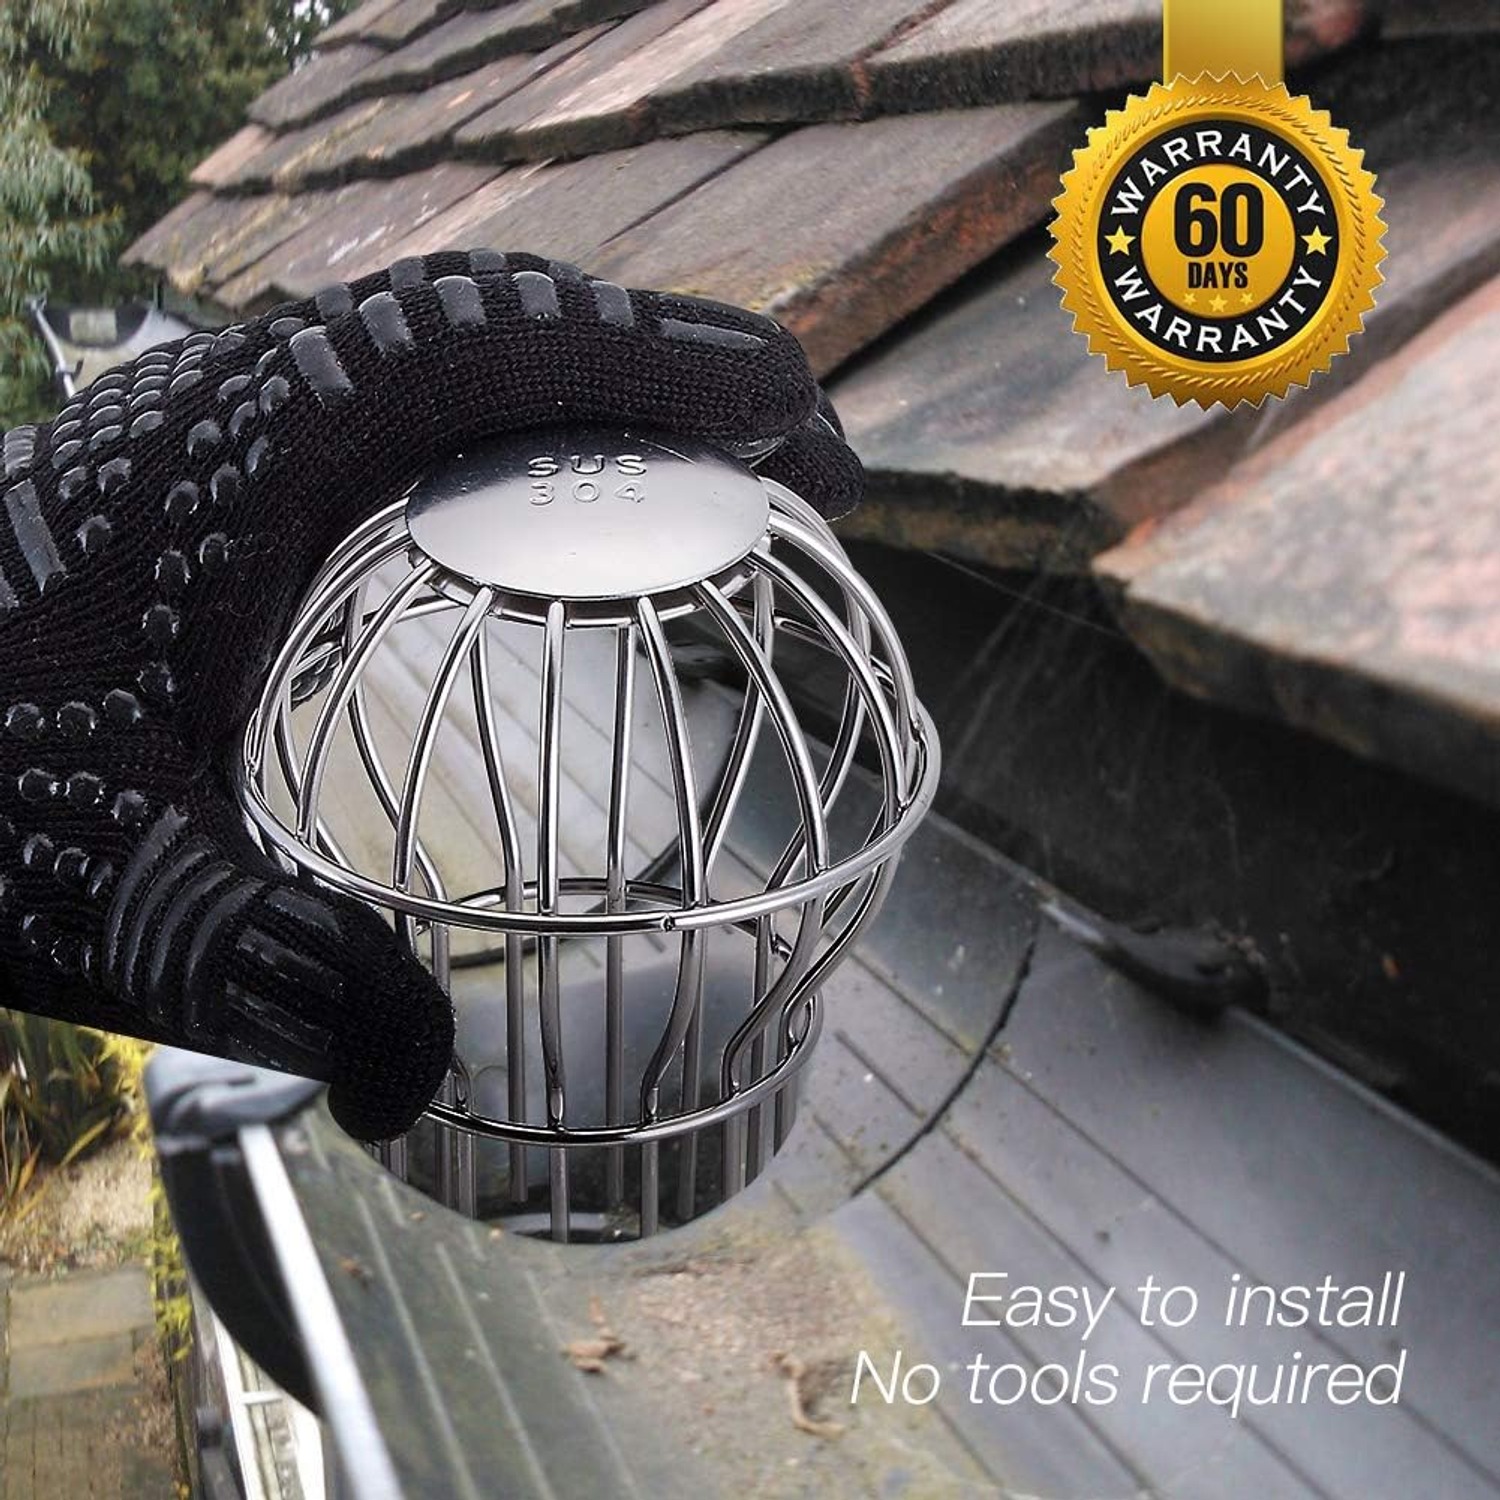
There is almost nothing to it. Set your ladder safely, clear any existing debris out of the gutter and the opening, then push the strainer into the hole by hand. It holds by friction. No screws, no brackets, no sealant, no sticky tape that peels off in July.
Take the opportunity while you are up there to flush the downspout with a hose. If the water drains freely, the pipe is clear and the strainer will keep it that way. If water backs up, there is already a blockage further down that needs clearing first. Fitting a strainer over an existing clog just hides the problem.
Who this suits
Anyone with trees near the house, which is most people. Deciduous trees drop leaves in a short, intense window in autumn. Pines drop needles all year, which is arguably worse because the drop is constant and needles are small enough to slip past coarse protection.
It also suits anyone who does not enjoy ladders. The honest pitch here is not that you will never clean your gutters again. It is that cleaning goes from a job involving plumbers tape, a dismantled pipe and a lot of swearing to a job involving a glove and three minutes per corner.
Renters and people in smaller properties get good value too, because the strainers lift straight out and come with you. Nothing is drilled or permanent.
Keeping them working
Plan on checking them two or three times a year. After autumn leaf fall is the obvious one. Before your wet season is the other. If you are under heavy tree cover, a look every couple of months is more realistic, and a quick glance after a big storm never hurts.
Cleaning is straightforward. Lift the strainer out, knock the loose debris off into a bucket, and rinse it under a hose or tap. A stiff brush handles anything stuck on. Avoid steel wool and scouring pads, because scratching the surface finish is pointless when a brush does the same job.
If you live somewhere that freezes hard, you might prefer to pull them for winter. Ice forming around a strainer can lift it, and a strainer floating loose in the gutter is doing nothing useful. Dry them before putting them away.
What a strainer will not do
Worth being clear. A strainer does not stop debris landing in your gutter. It stops debris entering your downspout. Those are different jobs.
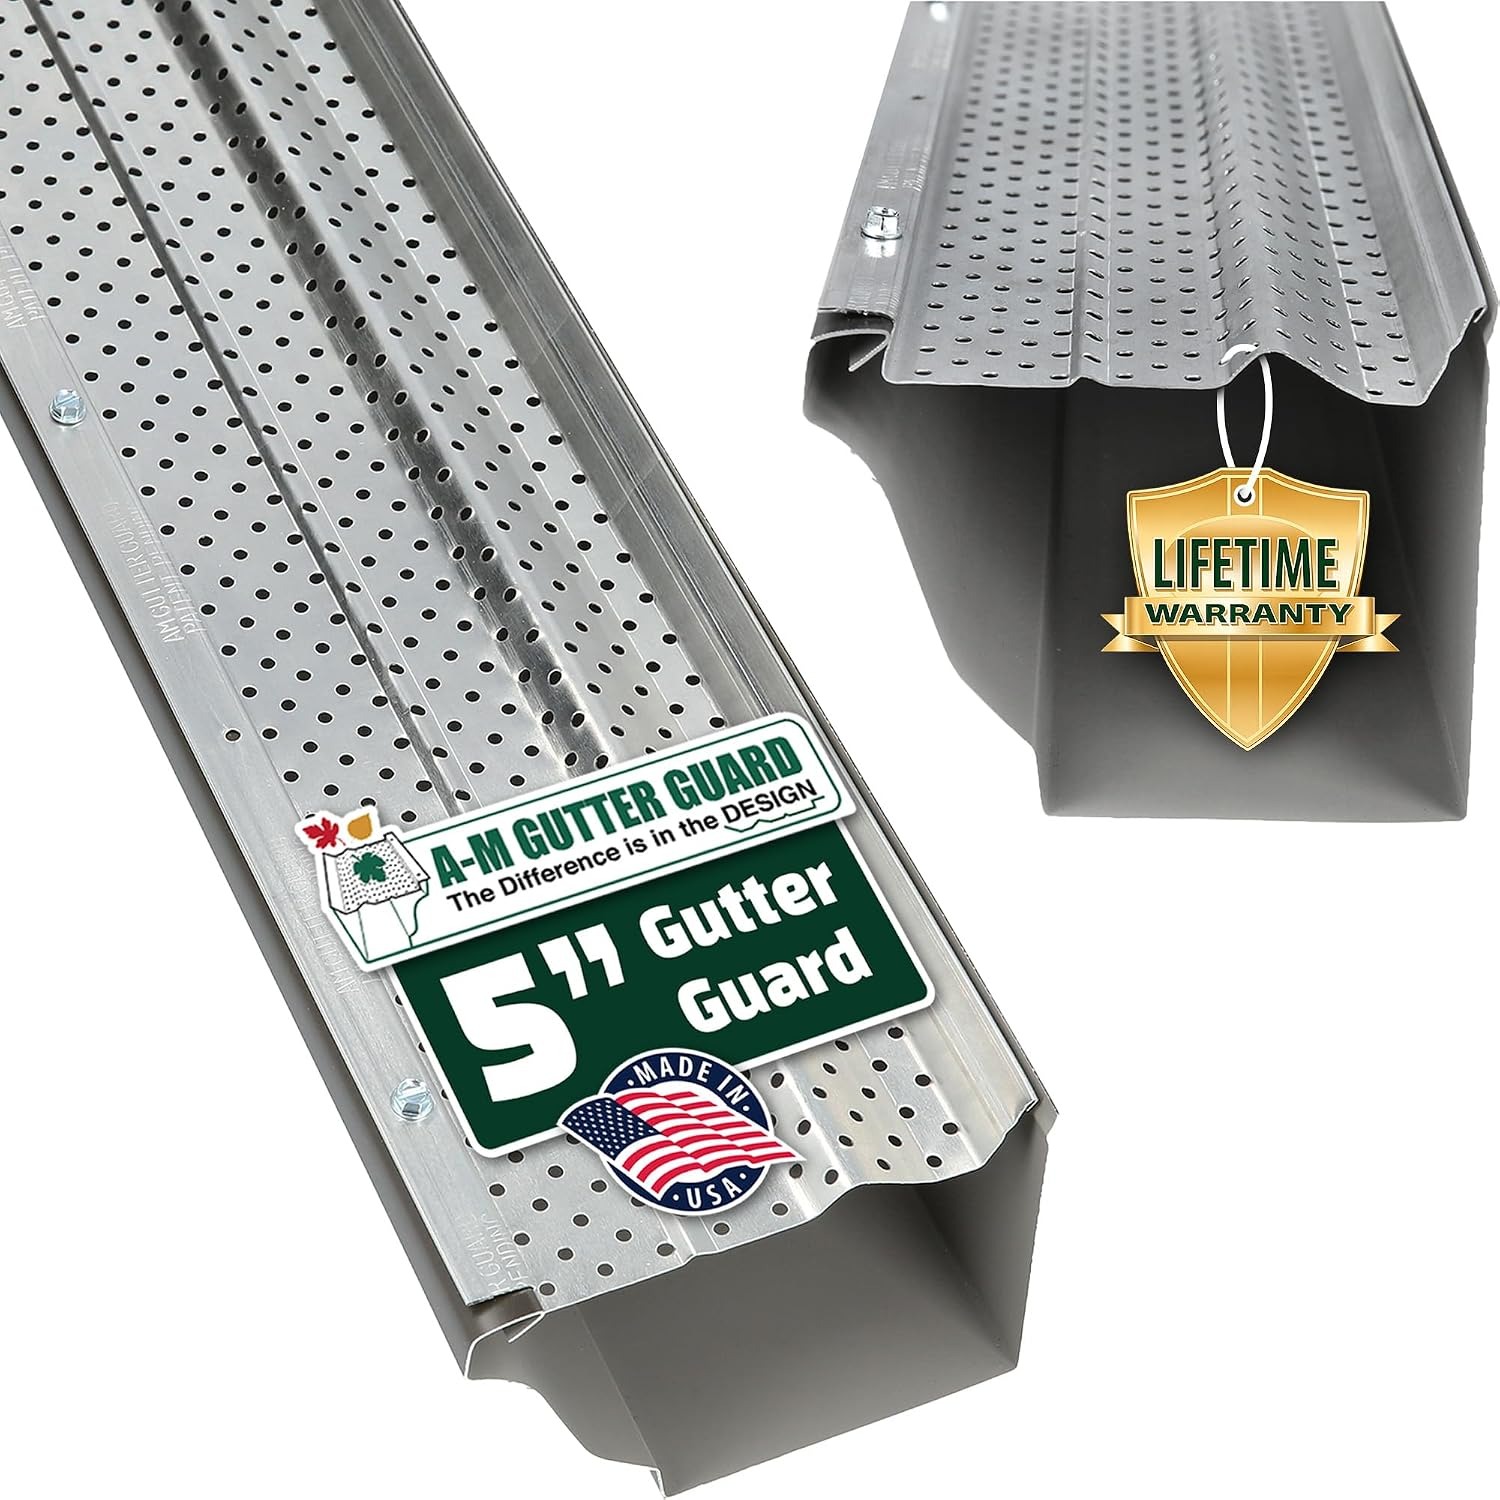
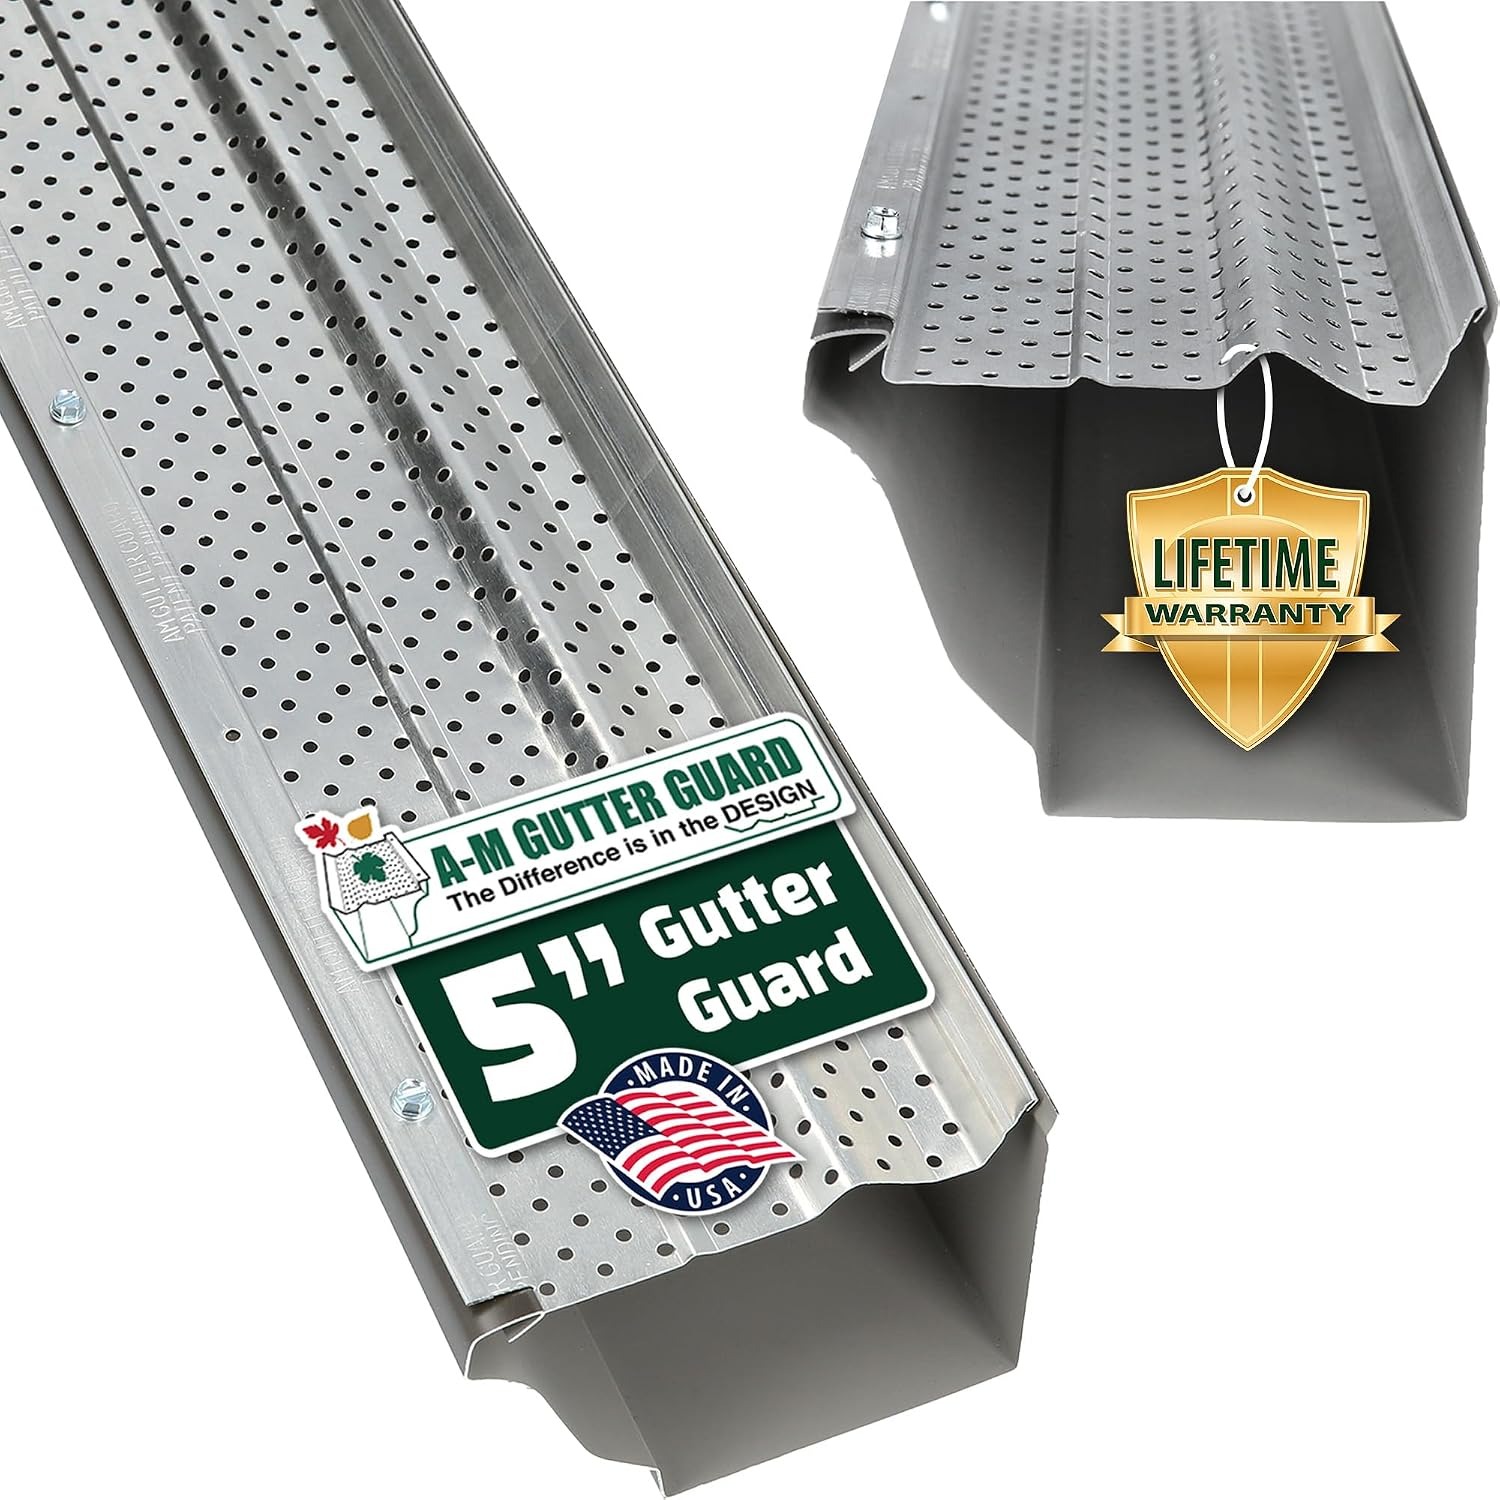
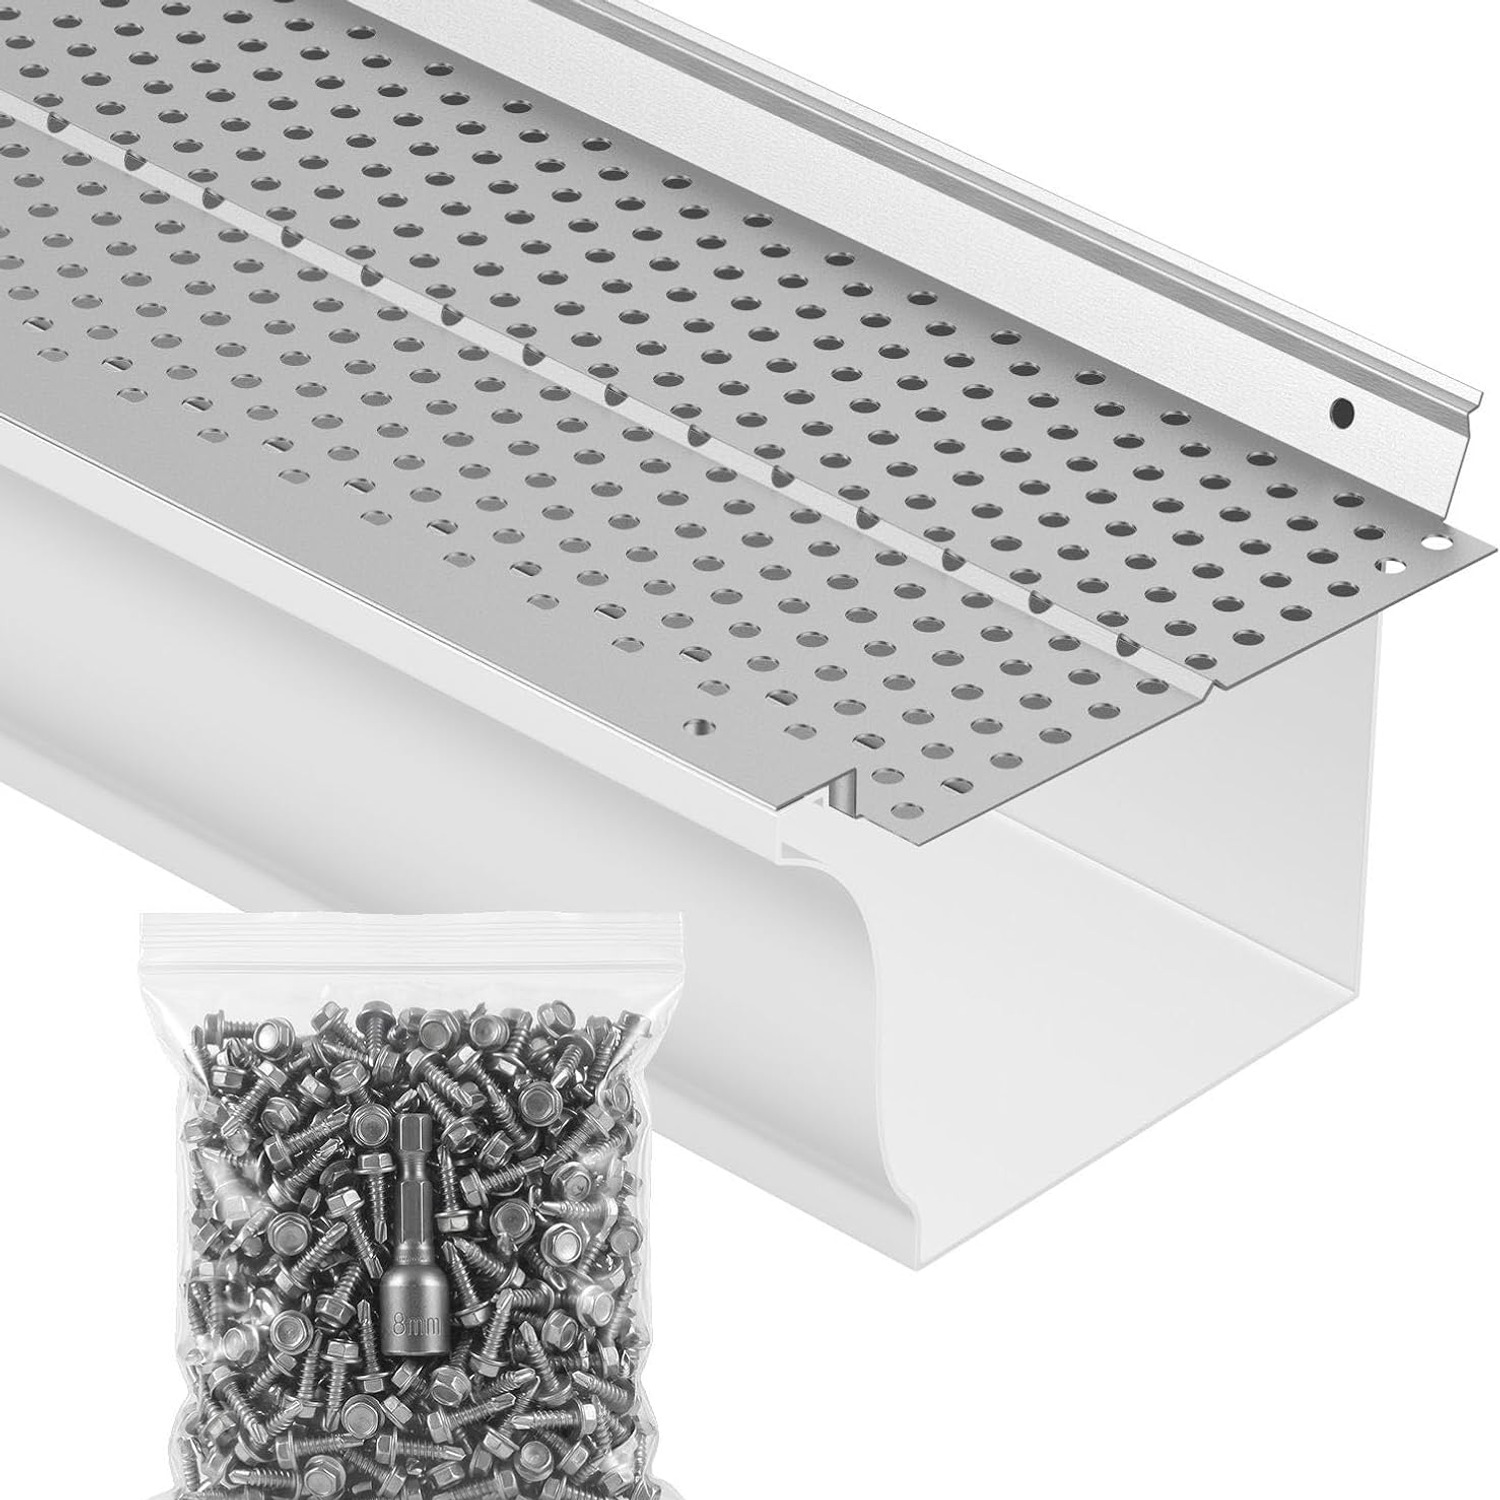
Leaves will still accumulate in the gutter channel and around the outside of the strainer, and you still have to remove them. If you want whole gutter protection, you are looking at full length guards or mesh covers, which cost considerably more and usually need proper installation.
What a strainer gives you is the highest value fix for the lowest cost and effort. The downspout opening is where the overwhelming majority of overflow problems begin, and a ten dollar piece of stainless steel in that hole prevents most of them.
The short version
Your downspout opening is the weak point in your gutter system. A stainless steel strainer sits in that opening, lets water through and keeps leaves out. This set gives you four of them in 304 stainless, sized for openings between 1.7 and 2.6 inches, with a domed head that sheds leaves instead of collecting them.
Measure your opening before you order. Push them in by hand, no tools needed. Brush them clean a few times a year. That is the whole routine, and it will save you from the much longer job of digging a compacted plug of wet leaves out of a downspout in the middle of a storm.